
Trace: • Getting started
Table of Contents
Version: 1.0 / 2022-03-31
Introduction
In this document we give you a quick overview of VisionX and create our first VisionX application with selected features.
VisionX is the open Low-code Platform with no limits. We combine No-code, Low-code and Pro-code in one Platform.
VisionX allows businesses users and Citizen Developer to easily build applications with No-code/Low-code and enables professional developers to build unlimited, complex application extremely fast with No-code/Low-code/Pro-code.
This manual is divided into the following sections:
- VisionX Overview
- Apps Overview
- Ready Made Solutions Store
- Live Preview
- Building Your First Application
- Create the Application
- Create a Screen
- Run Web App
- Run Native Mobile App
- Learning VisionX - Next Steps
You can find the full documentation and more details at https://doc.sibvisions.com
VisionX Overview
This chapter describes the main VisionX functions that are used to create and edit applications. It provides an overview of VisionX and shows how to develop a first application.
Apps Overview
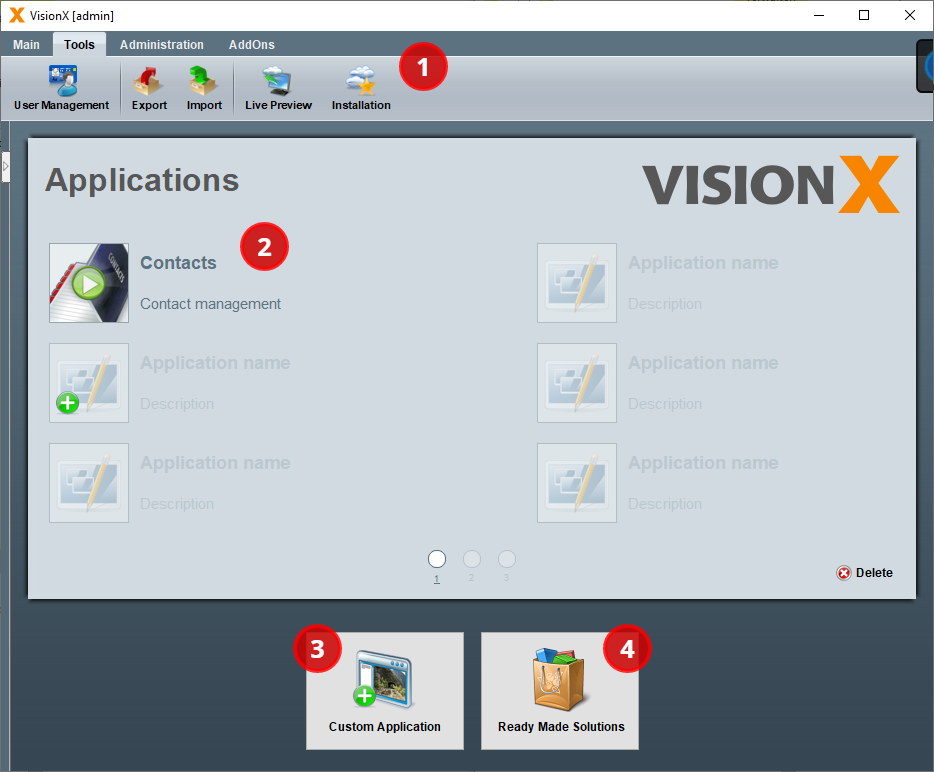
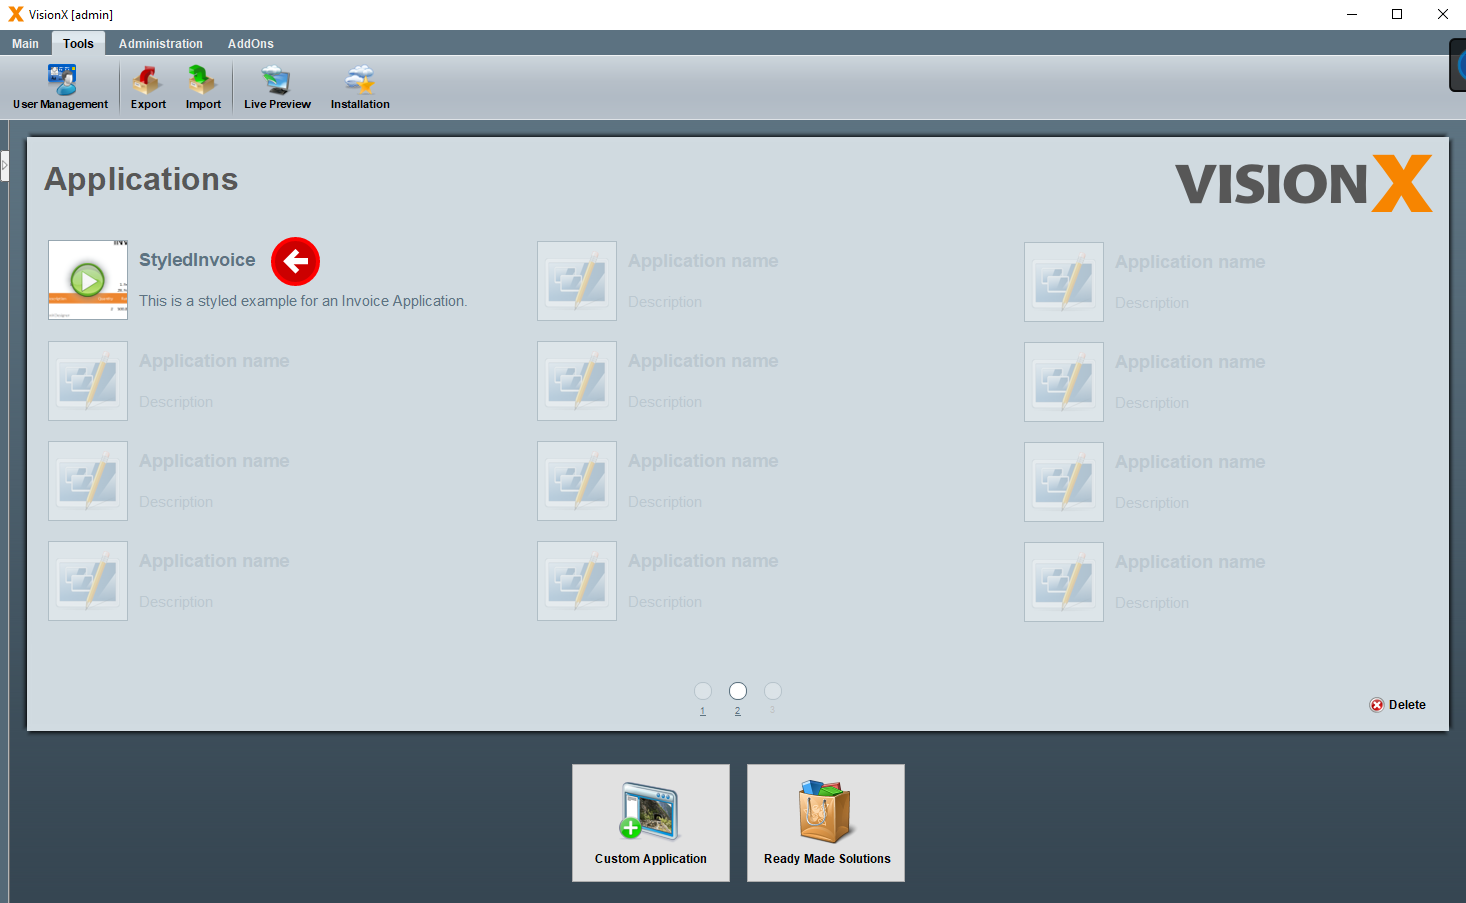
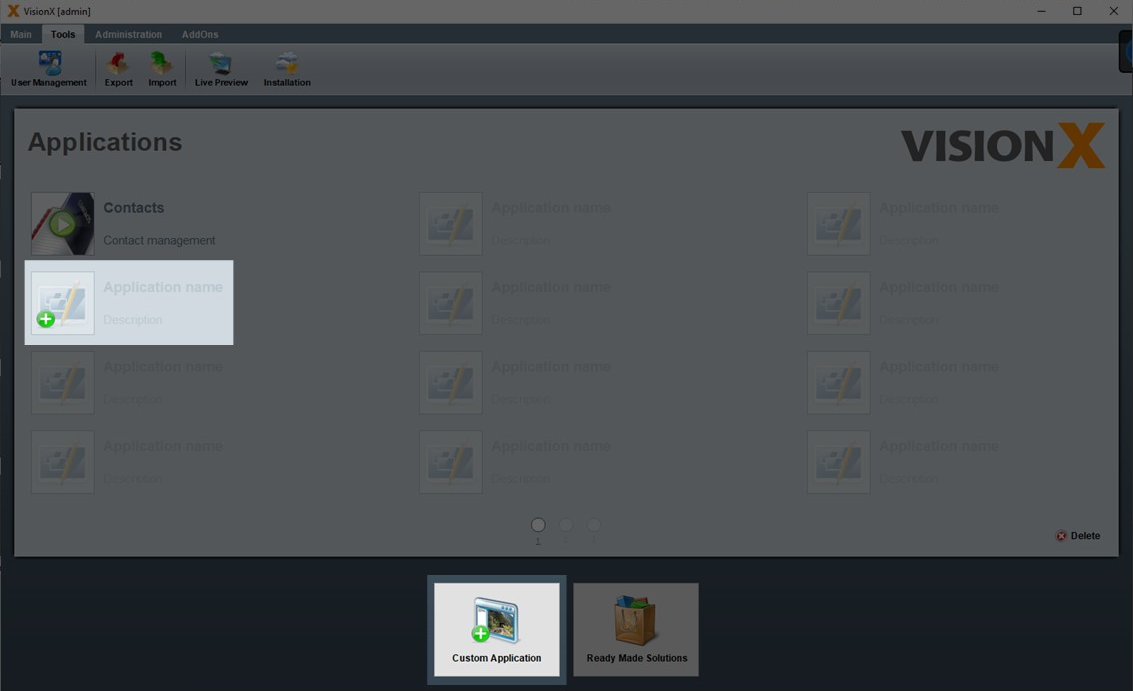
After starting VisionX you are in the main view.
- The toolbar is located at the top of the screen. The buttons on the toolbar allow you to import, export or install an application.
- In the middle of the screen is the list of existing VisionX applications.
- The “Custom Appication” button on the bottom left is used to create a new application.
- To button on the bottom right opens the Ready Made Solution Store where VisionX Add-ons and demo applications can be installed.
The first time you start VisionX, you will see several guides that help explain the first steps.
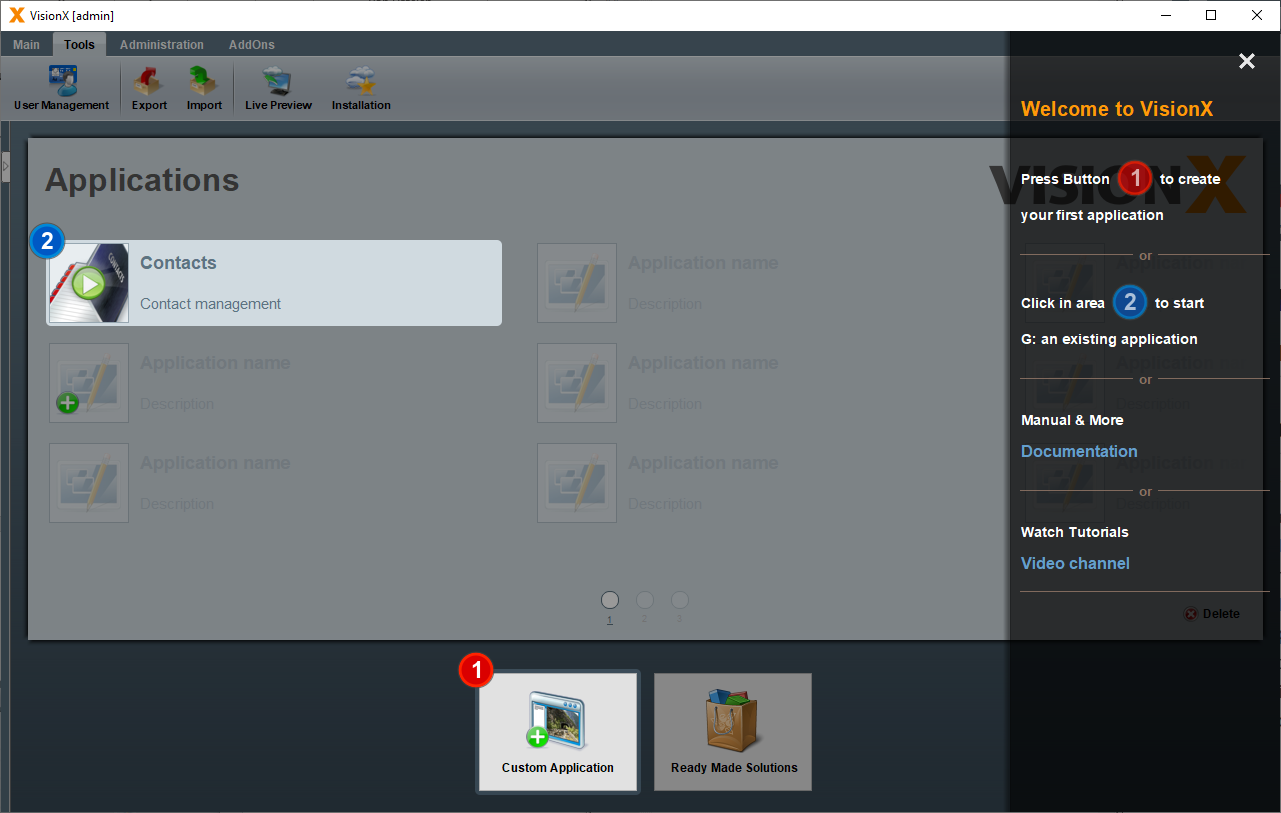
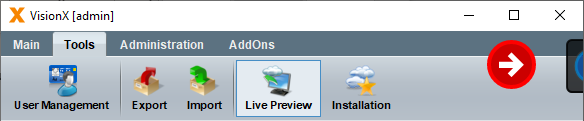
You can show or hide them at any time in the top right corner of the toolbar.

Ready Made Solutions Store
The app store contains various add-ons, demo applications and tutorials that you can use to get to know VisionX or to get a quick start for an application.
Let's install a demo application and make a few changes to it.
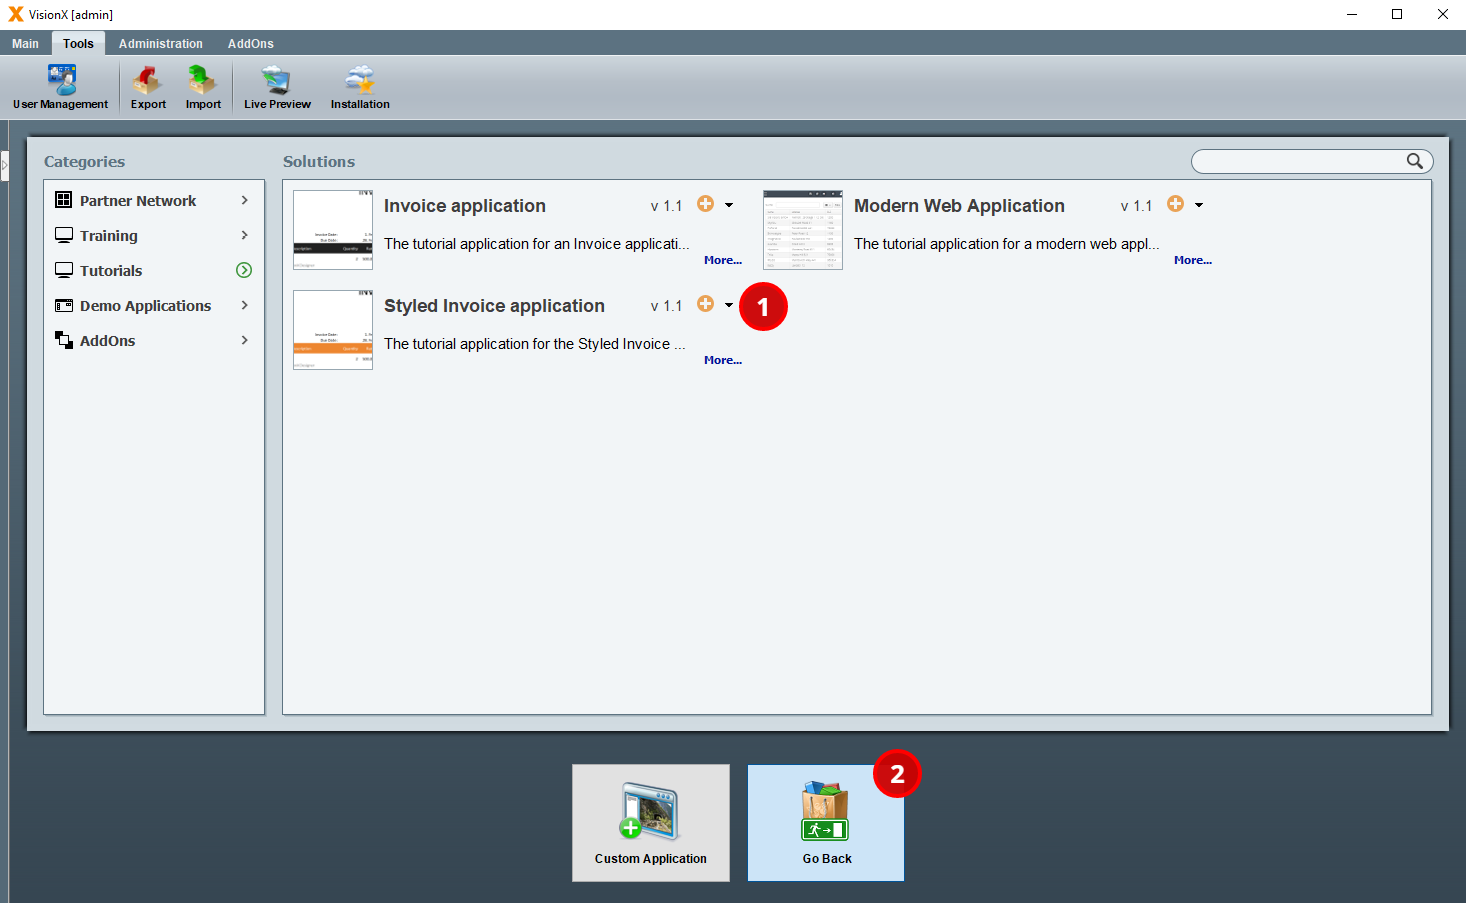
- Open the app store and click on “Tutorials”.
- Click on the orange plus icon next to the “Styled Invoice” application to install it. In the installation wizard just click finish.
- The “Go Back” button at the bottom of the screen will take you back to the main view.
Live Preview / Edit Application
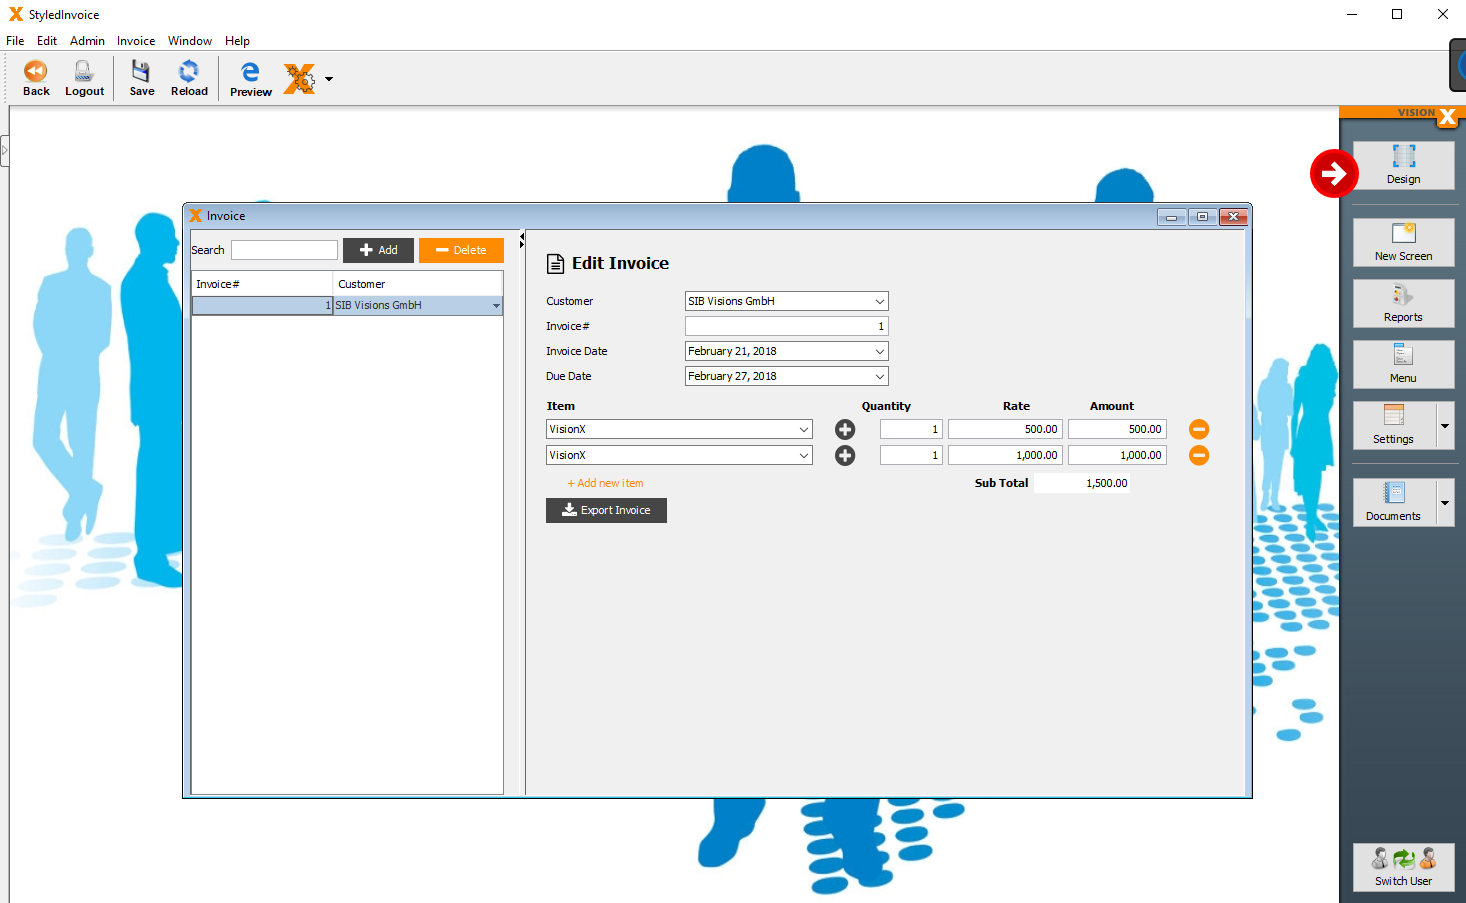
Let’s take a look inside the application.
Clicking on the application name will open it in VisionX for editing.
Click on the “Design” button on the top right to edit a screen in the VisionX User Interface Designer.
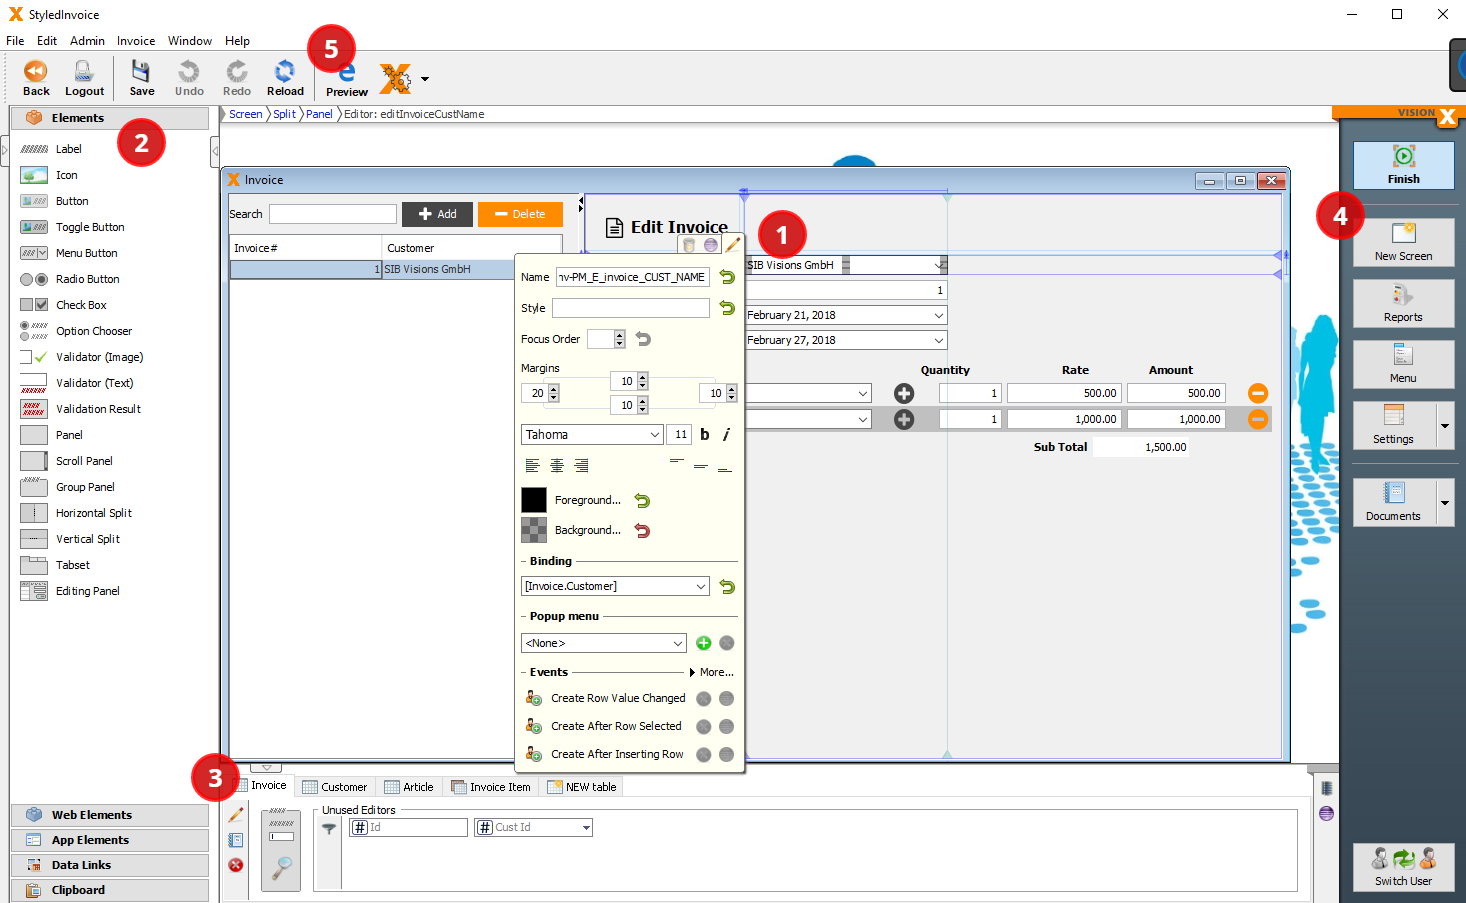
- You can adjust elements using drag and drop, or right-click an element to customize it.
- On the left side of the screen, there is a list of user interface (UI) elements that you can add to the application using drag and drop. You can find more information about the individual UI elements in the UI elements section.
- At the bottom of the screen you can see the application’s data elements, where you can create new tables or edit the data model. You can find more information about editing data elements in the Data Model section.
- On the right side of the screen, there are a few more options:
- “New Screen” - create a new application screen
- “Report” - create reports in Word, Excel or PDF. See Reports for more details.
- “Menu” – change the settings for the application’s menus and toolbars. See Menus for more details.
- “Settings” – change application settings for web, desktop and mobile
- “Documentation” – create application documentation. See Documentation for more details.
- “Switch User” - Change the application user to test screens from the perspective of different user roles.
- If VisionX add-ons are installed, you will find additional options here.
-
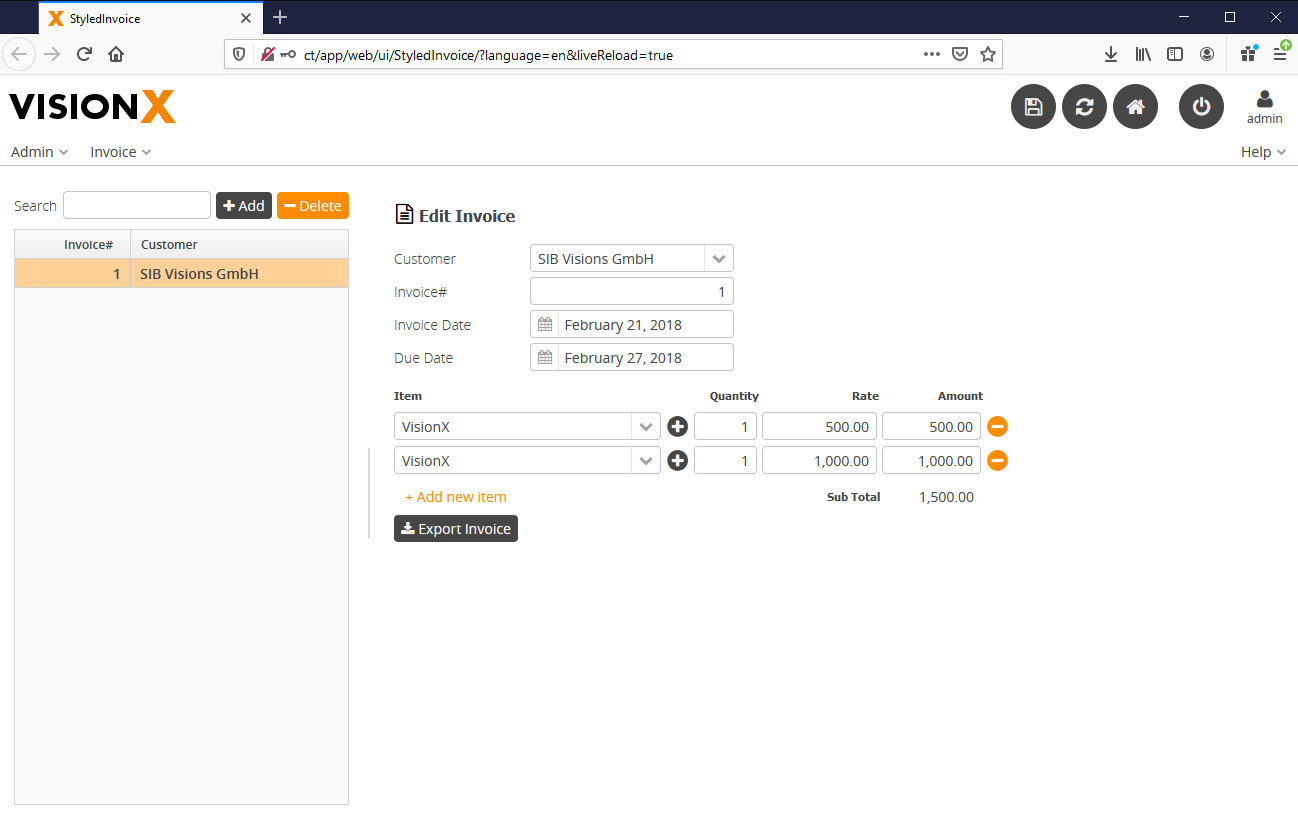
To see a live preview of your application, click the “Preview” button on the toolbar. The application will open in a browser, where you can log in and test the application (default credentials for the administrator user are username: admin/password: admin).
Building Your First Application
In this chapter, we create our first VisionX application.
VisionX applications run on every device and on every user interface technology - as a responsive web application, native mobile app or even as a desktop application.
No modifications to the application are necessary to switch between UI technologies.
Create the Application
A new application can be created in the VisionX main window by clicking the “Custom Application” button at the bottom of the screen or the “+” button on one of the empty application icons.
The New Application wizard will open and lead you through the steps for creating an application from scratch. We will name the application “First Application” and click “Finish”.
Note: There are additional steps available in this wizard that allow us to customize other items, but for this first application we will just use the default values.
Create A Screen
VisionX will now take us to the new application. Since there are currently no screens in this application, VisionX automatically opens the Next Steps wizard which allows us to create a new screen.
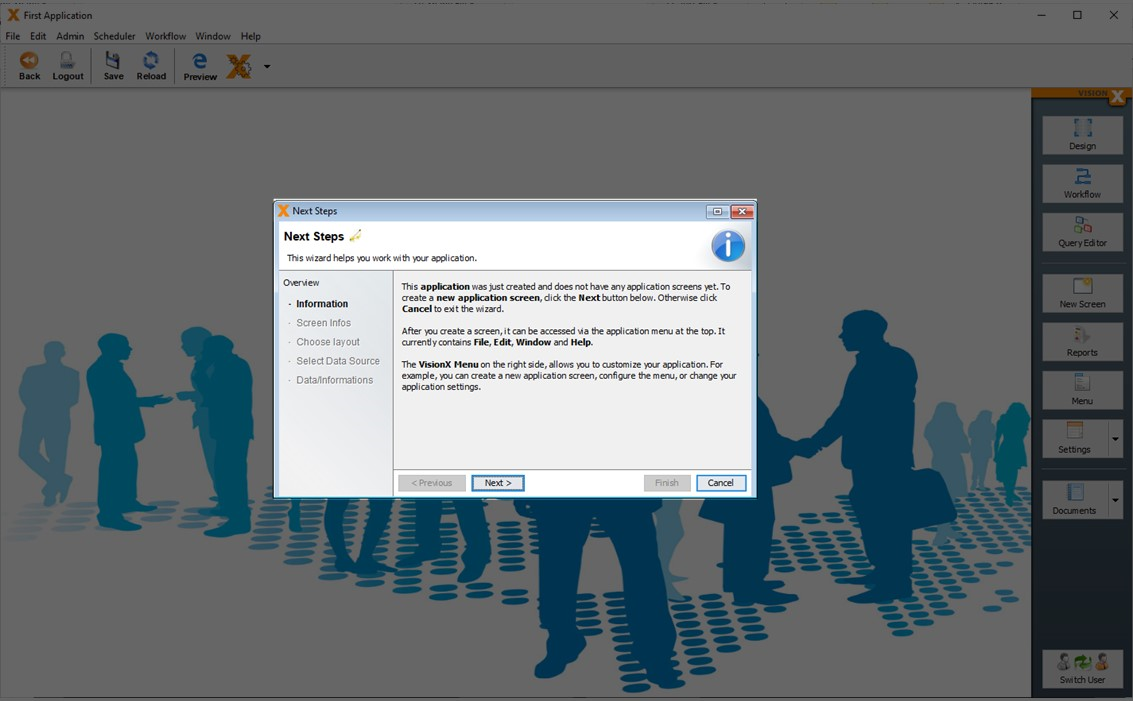
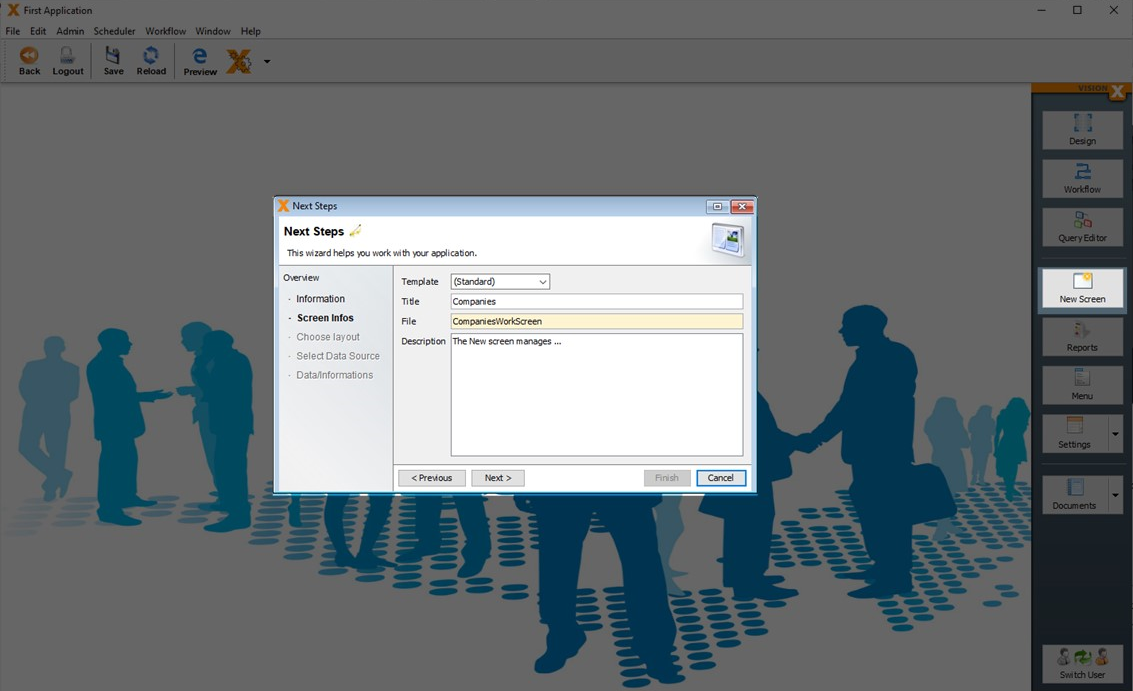
We will create a new screen that allows us to create, change, and delete contact information for a list of companies. The wizard not only creates the screen, but also the required data model in the database. Click “Next” and enter “Companies” as the screen title.
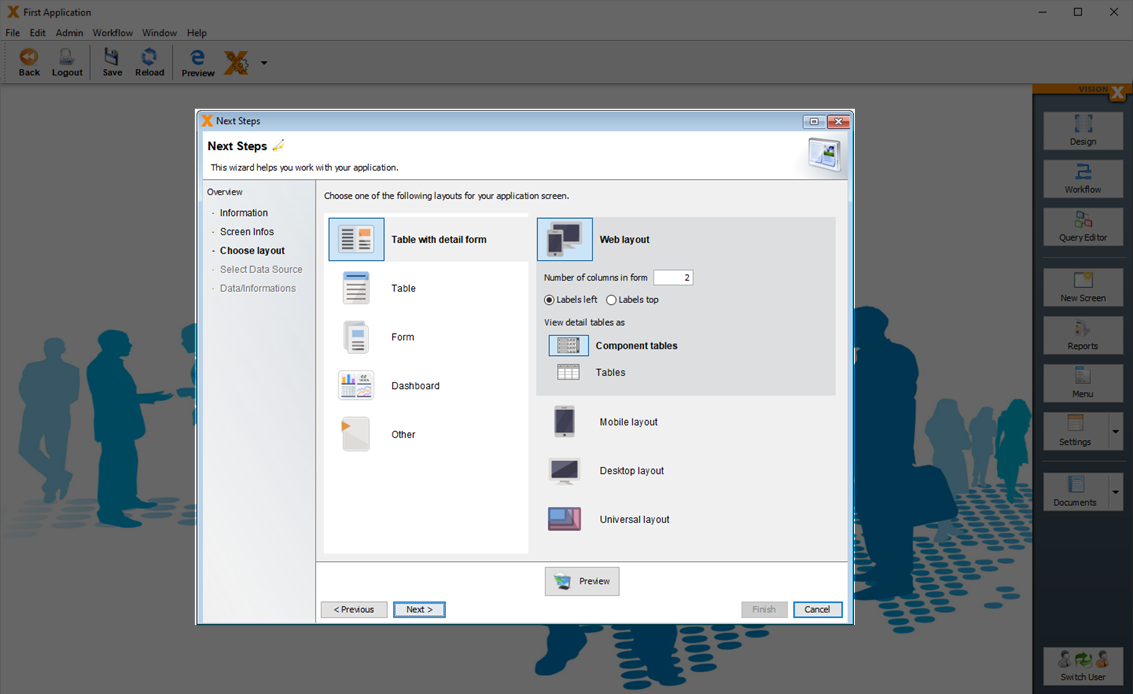
On the next screen we can choose the layout of the screen. The layout can be changed later in VisionX Designer completely flexible.
Select “Table with detail form” and “Web layout” and click “Next”.
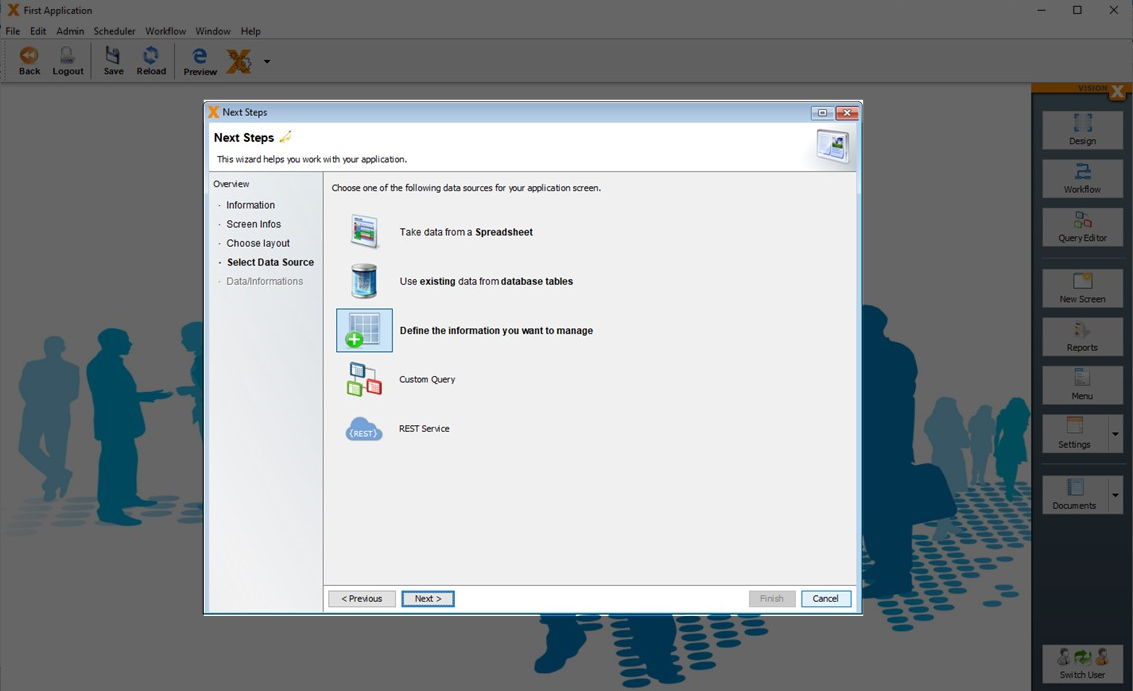
Now we can choose the data source for our screen.
This can be a spreadsheet, an existing database, REST services, database queries or a completely new data model.
In our example we will define a new data model. We therefore keep the default value “Define the information you want to manage”. Click “Next”.
We are now on the screen where the data model is defined.
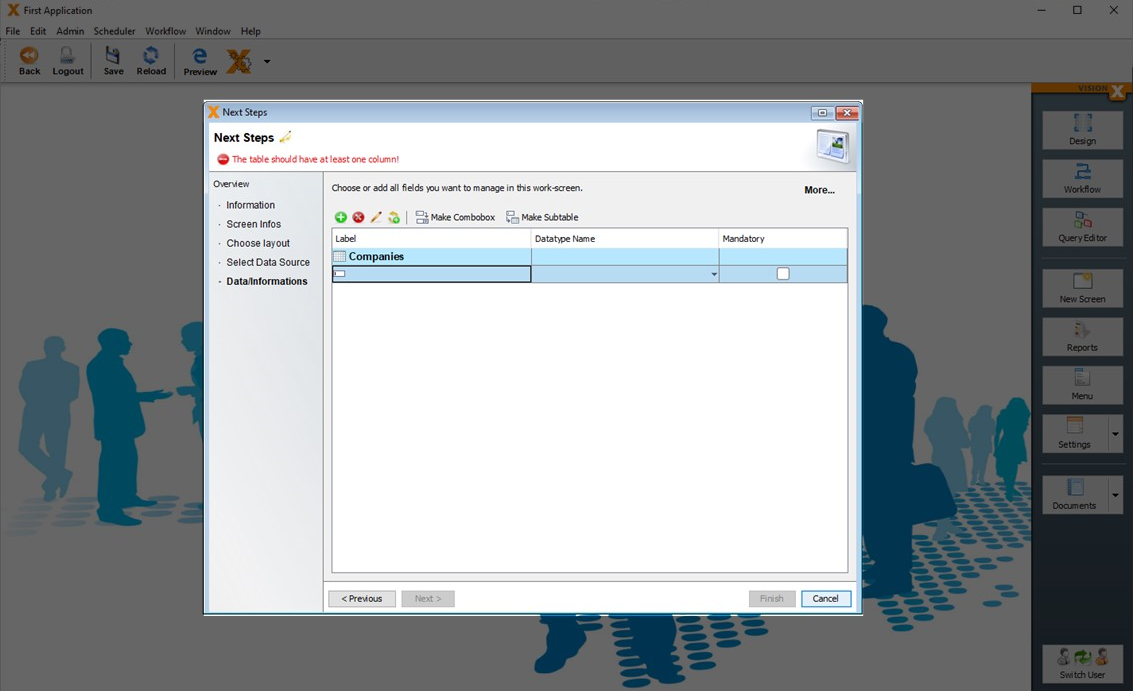
As you can see, the data model is currently empty. In this application, we want to record company contact information, so we will add the following fields:
- Name
- Email
- Phone
- Website
- Contact - Name
- Contact – Phone
The data type is chosen automatically based on the column name, but you can adjust it if necessary.
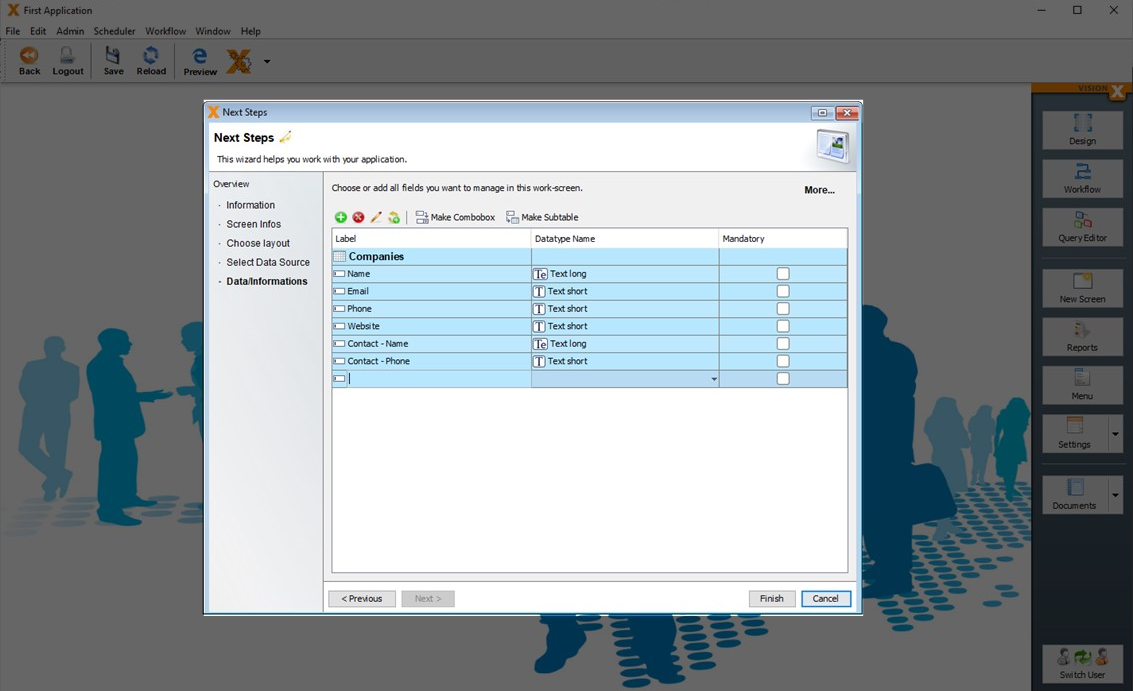
Click “Finish” to create the screen and its data model at the same time.
The new screen is opened in the VisionX User Interface Designer.
Run Web App
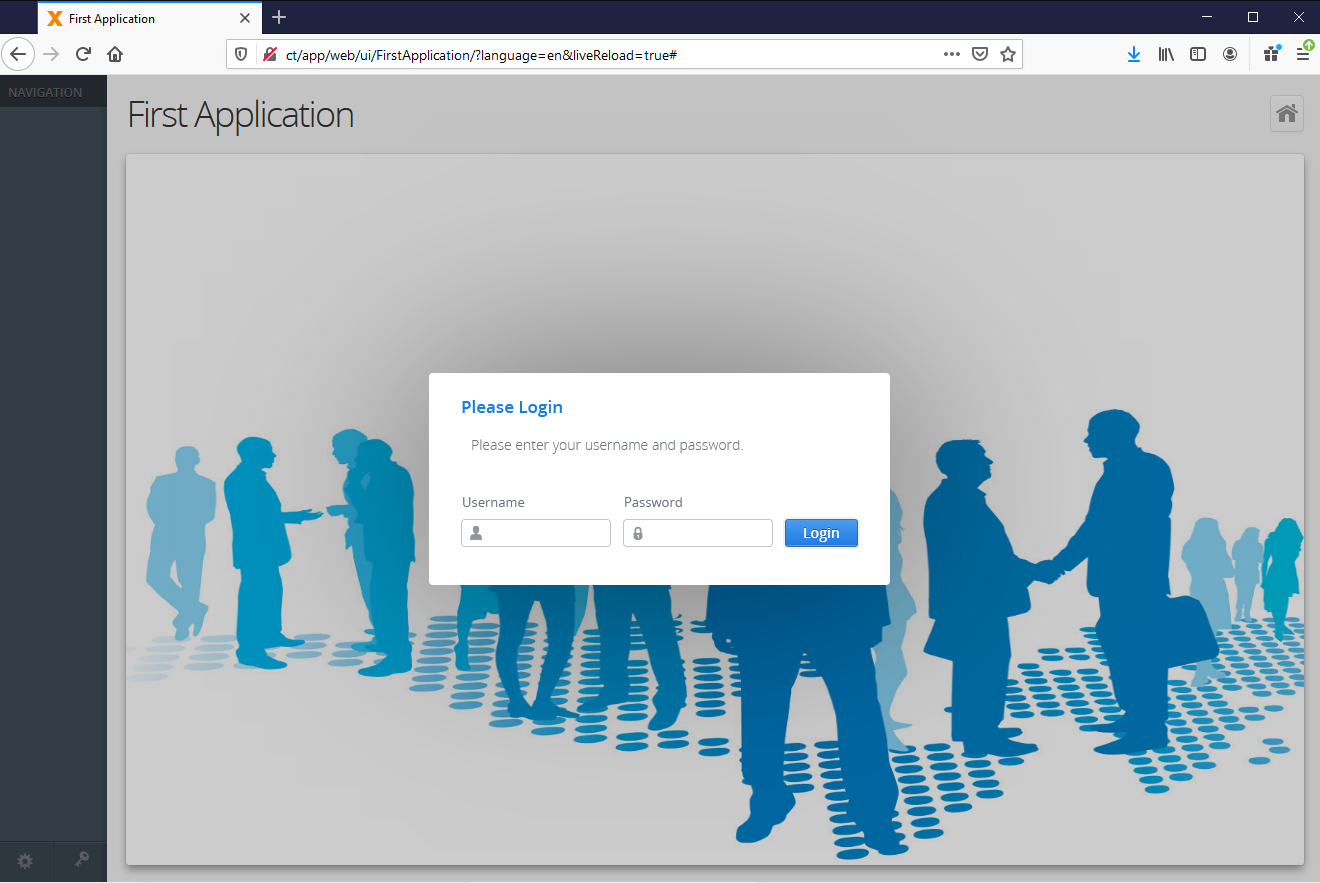
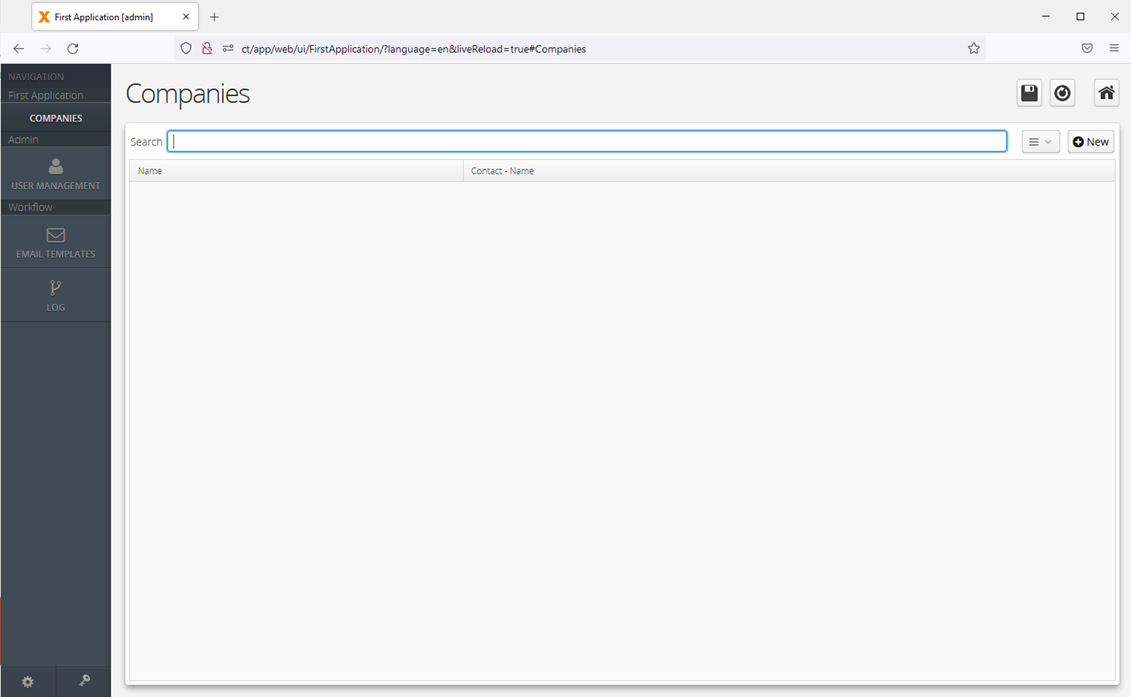
Our new application is now ready for a test drive. You can start the Live Web Preview by clicking the “Preview” button on the toolbar.
Your default browser will open with a Live Web Preview of your application. You can log in by using the default credentials: “admin” as username and “admin” as password.
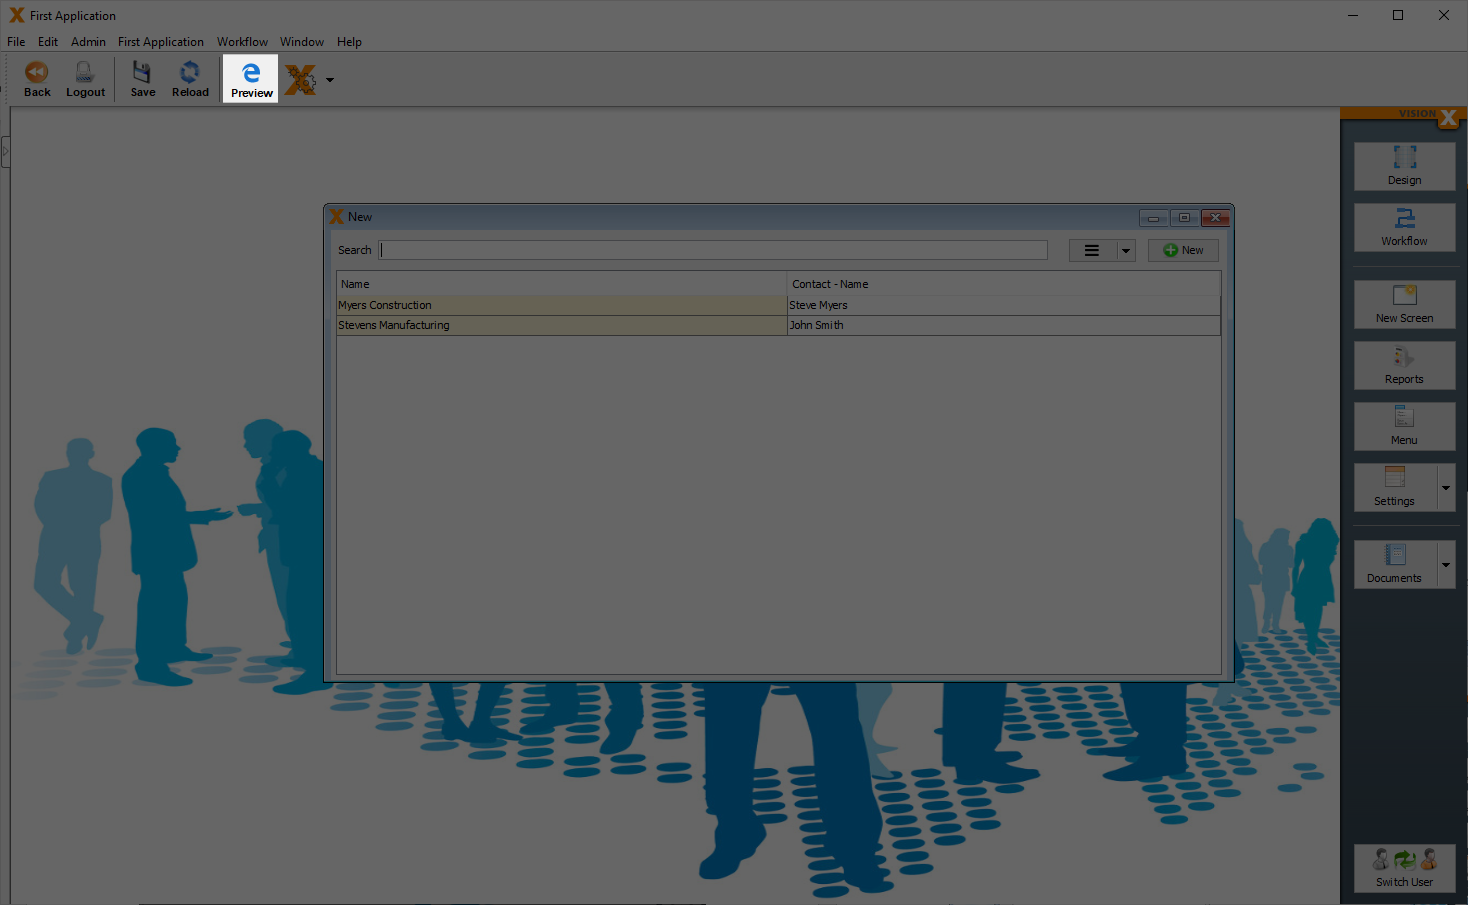
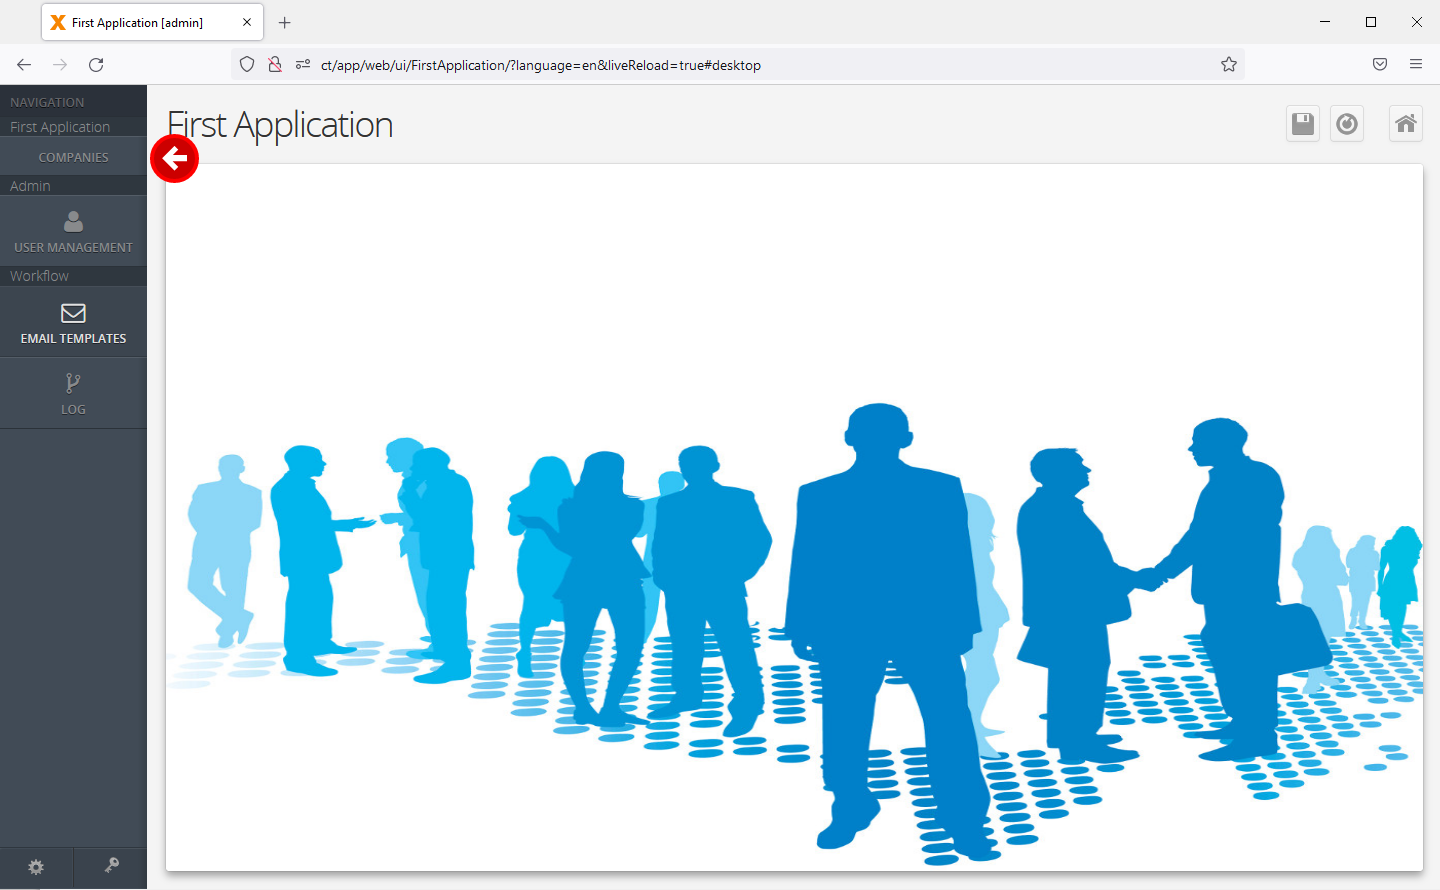
Now let’s open the screen we created using the menu on the left side.
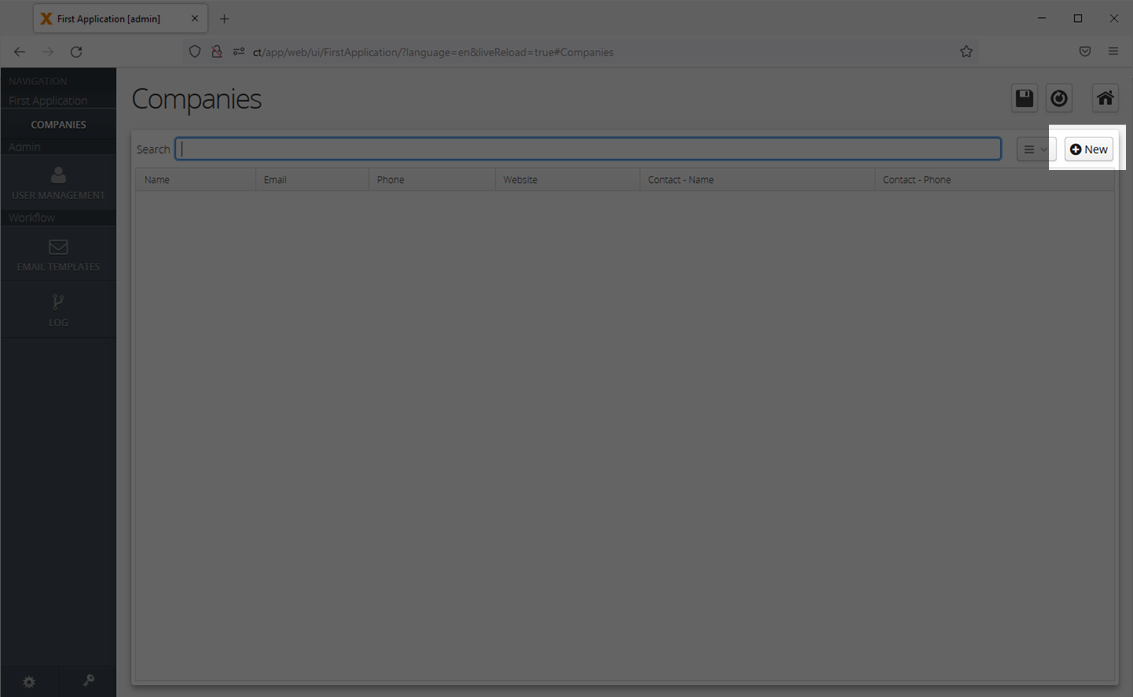
We can now start adding data to the database. Pressing the “New” button of the table will create a new record.
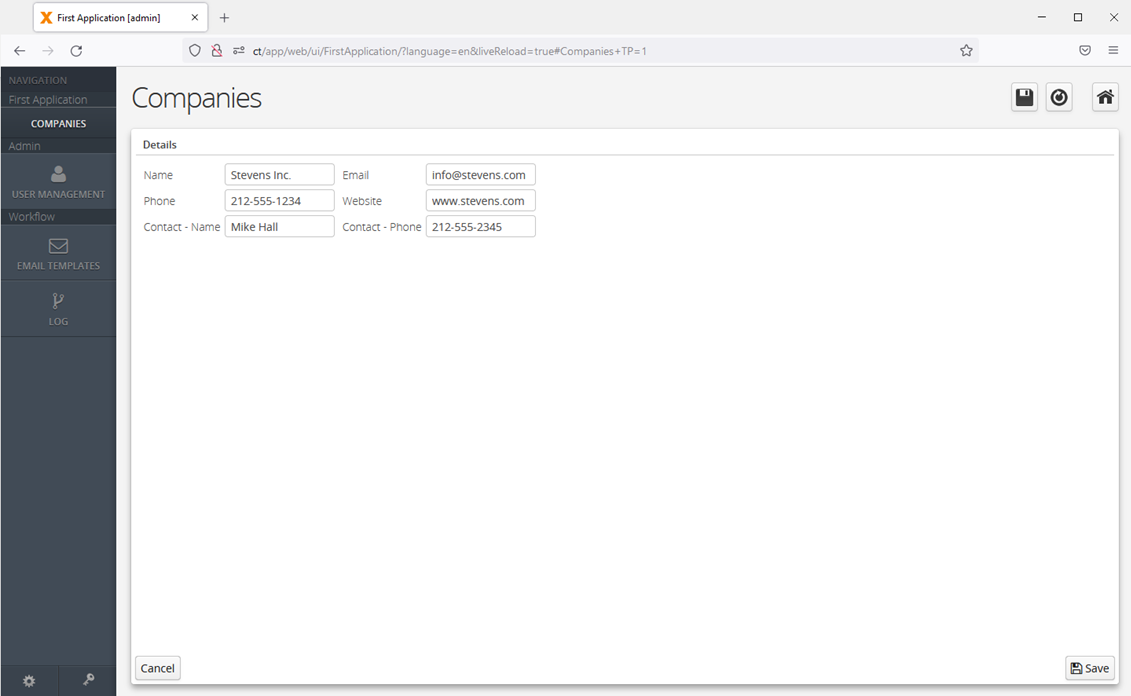
We will now enter data and click “Save”.
Within just a few minutes, we built a complete application with VisionX.
You can instantly share your application with other users. To do this, simply send the link in the browser. This will allow you to get feedback or share your application with your team.
Note: Sharing an application that has not been installed only works if all users are on the same network.
If you want to use the application productively you should install it. You can install your app in the VisionX.cloud. See VisionX Cloud for more details. VisionX applications can also be installed in any on-premise or cloud infrastructure. See VisionX Installation for more details.
Changing The User Interface
We can edit the screen in the VisionX User Interface Designer. Here we can drag components, add new ones, or edit the data model. The VisionX User Interface Designer can be activated at any time by pressing the “Design” button in the upper right corner.
As a next step, we want to remove some of the columns in the table view, since we do not need all of them. Open the customizer with a right click on the table and uncheck the columns that are not needed. In this example, we only want to keep the columns “Name” and “Contact-Name” in the table, so we will uncheck the others.
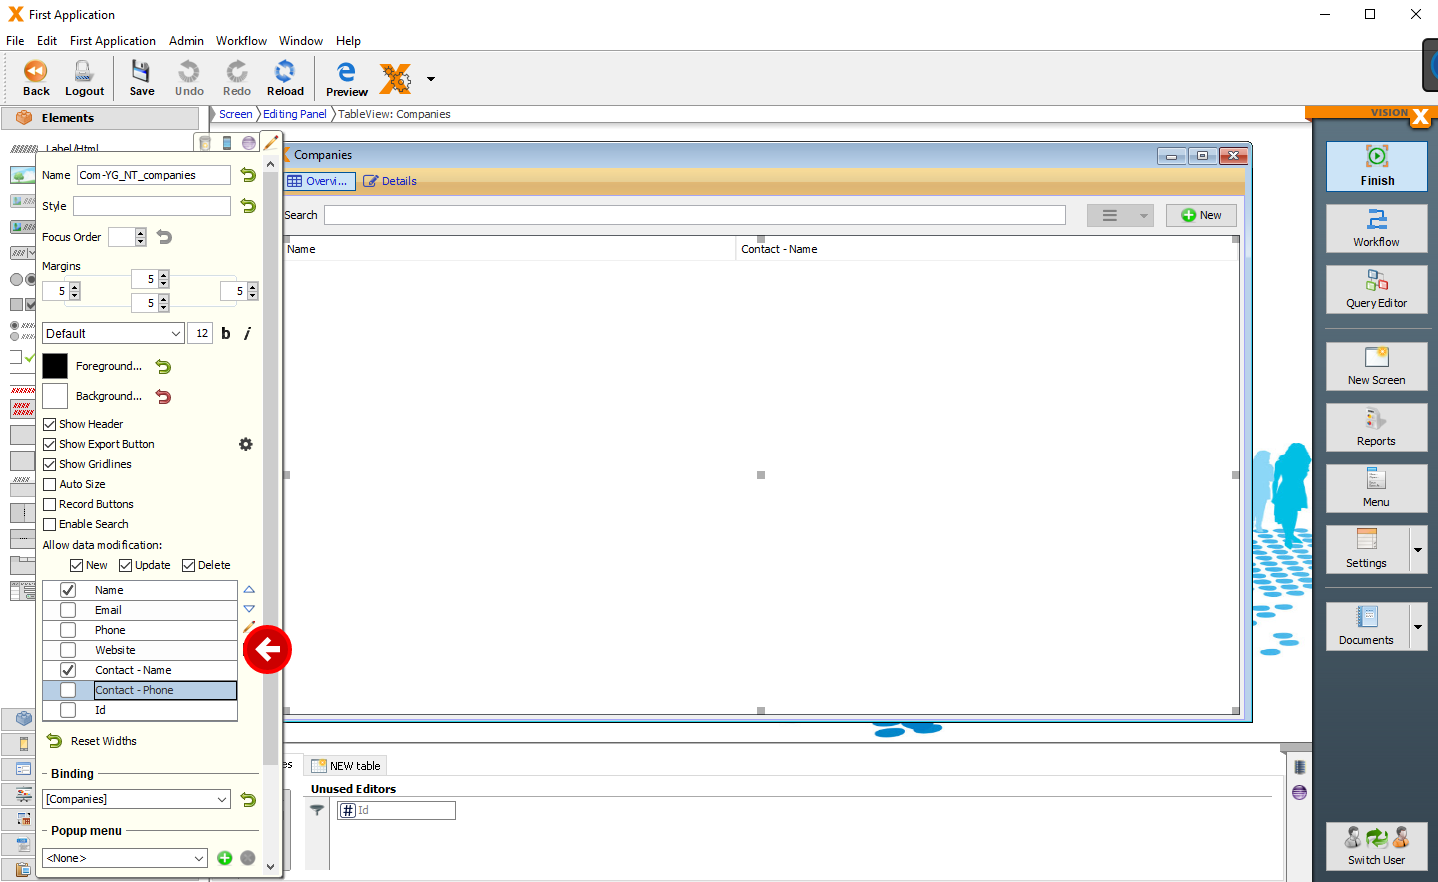
If you switch back to your browser window, where the app is still open in live preview, the change is visible immediately visible - without having to reload the app in the browser.
Run Native Mobile App
VisionX applications run on all devices and UI platforms. Therefore, you can easily launch your first app as a native mobile app without any changes.
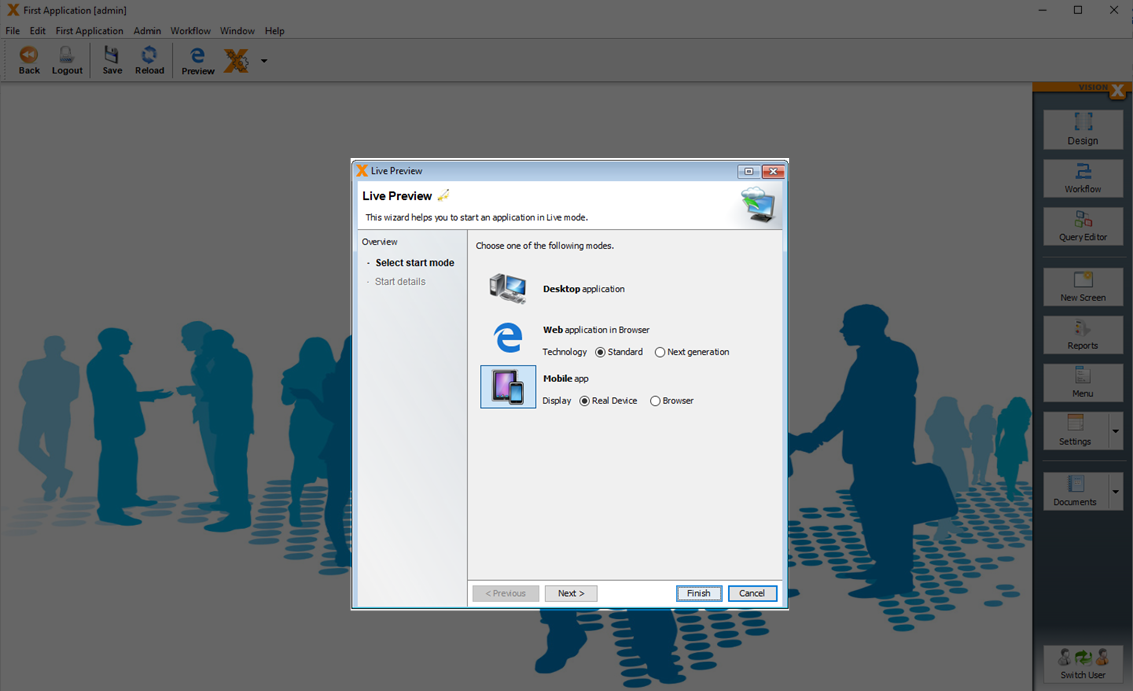
To do this, click on the Preview button in the VisionX menu in the toolbar.
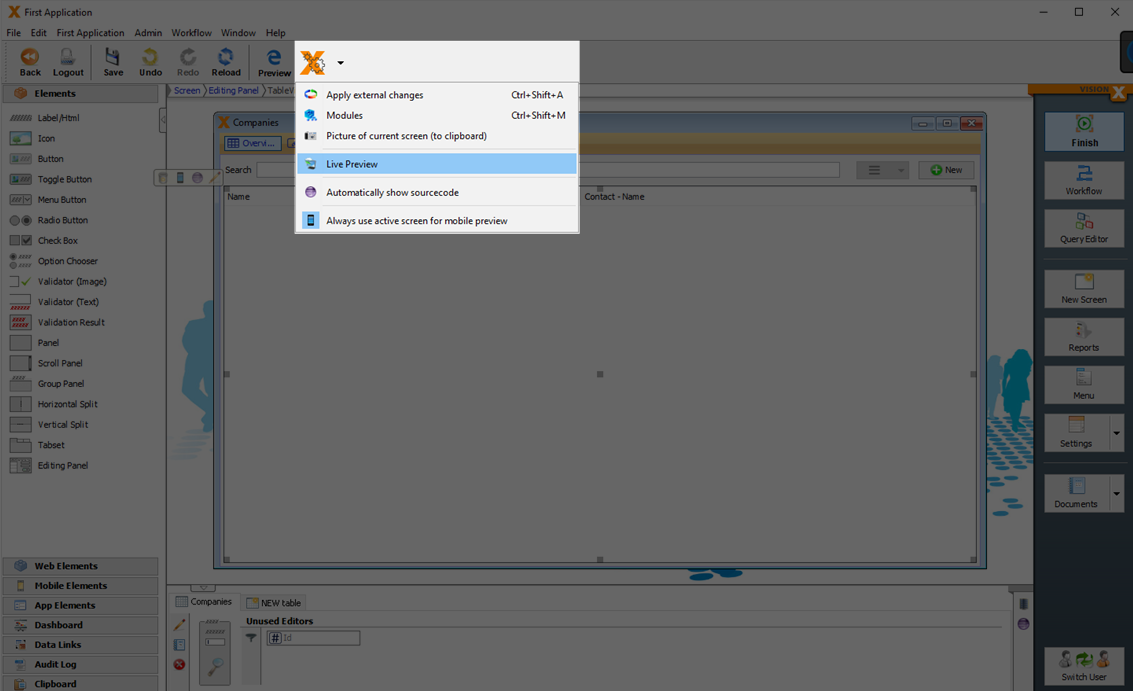
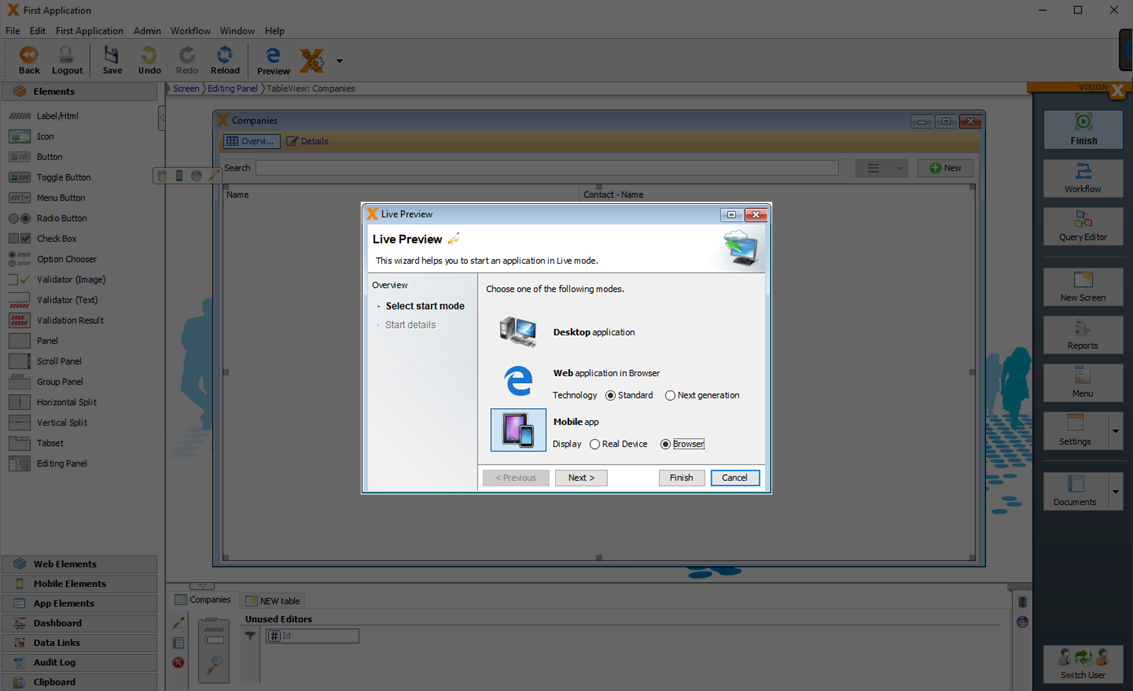
Then select Mobile App in the browser. This is our mobile app previewer in the browser. This is the easiest way to view and test the app.
After the browser window opens, resize to the size of a smartphone.

Alternatively, you can also start the app in the VisionX Previewer app. To do this, search for VisionX Previewer App in the App Store on your smartphone and install it.

Note - Make sure that your PC is in the same wireless network (WLAN) as your smartphone.
This time, select the “Real Device” option for the mobile preview and click “Next”.
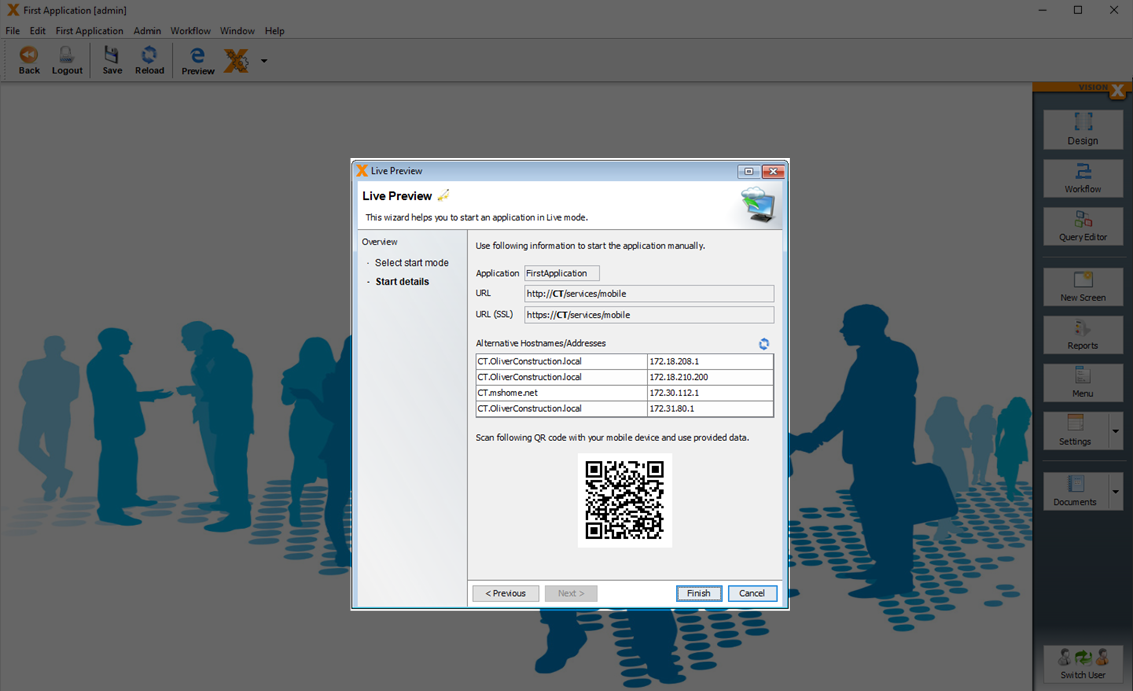
Then open the VisionX Preview app on your smartphone click on “Settings”.
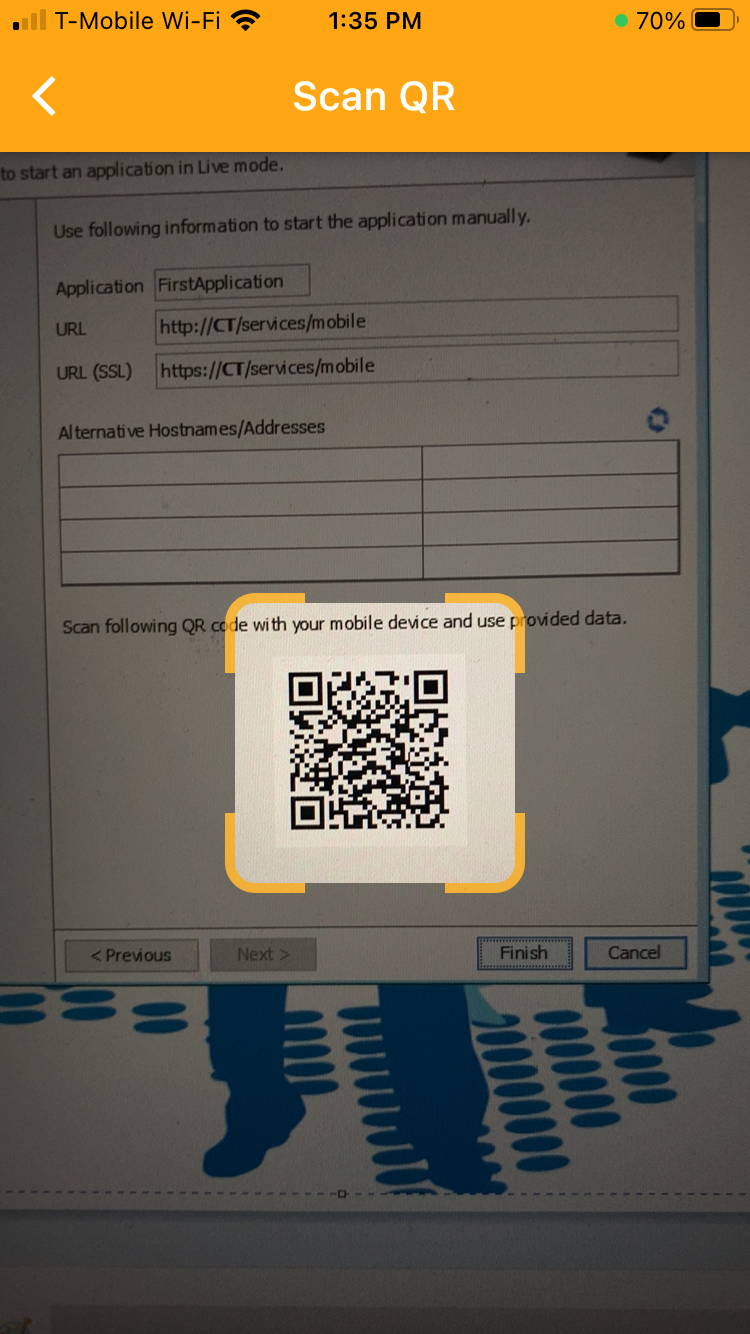
Click on the QR code scan button at the bottom of the screen.

And scan the QR code in the VisionX Live Preview start screen.
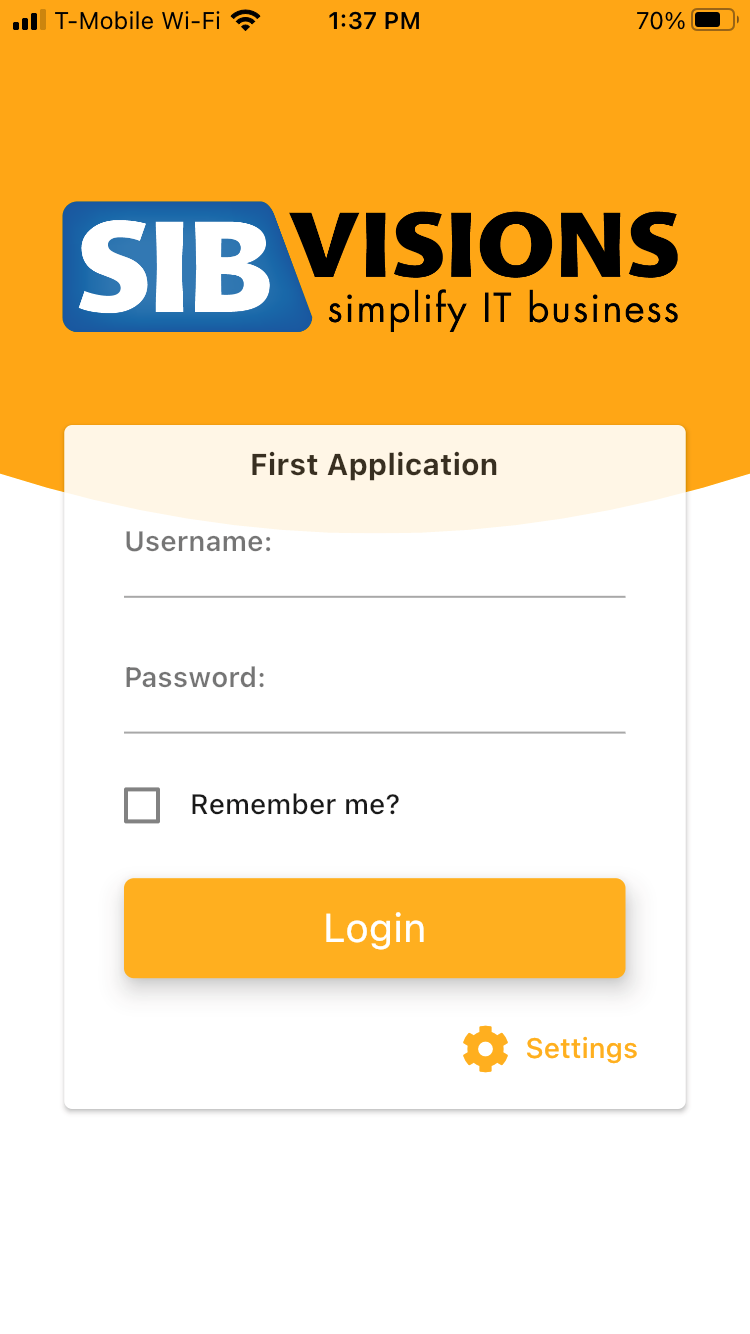
Click “Save” to return to the login screen and log in to the app using the “admin”/“admin” credentials.
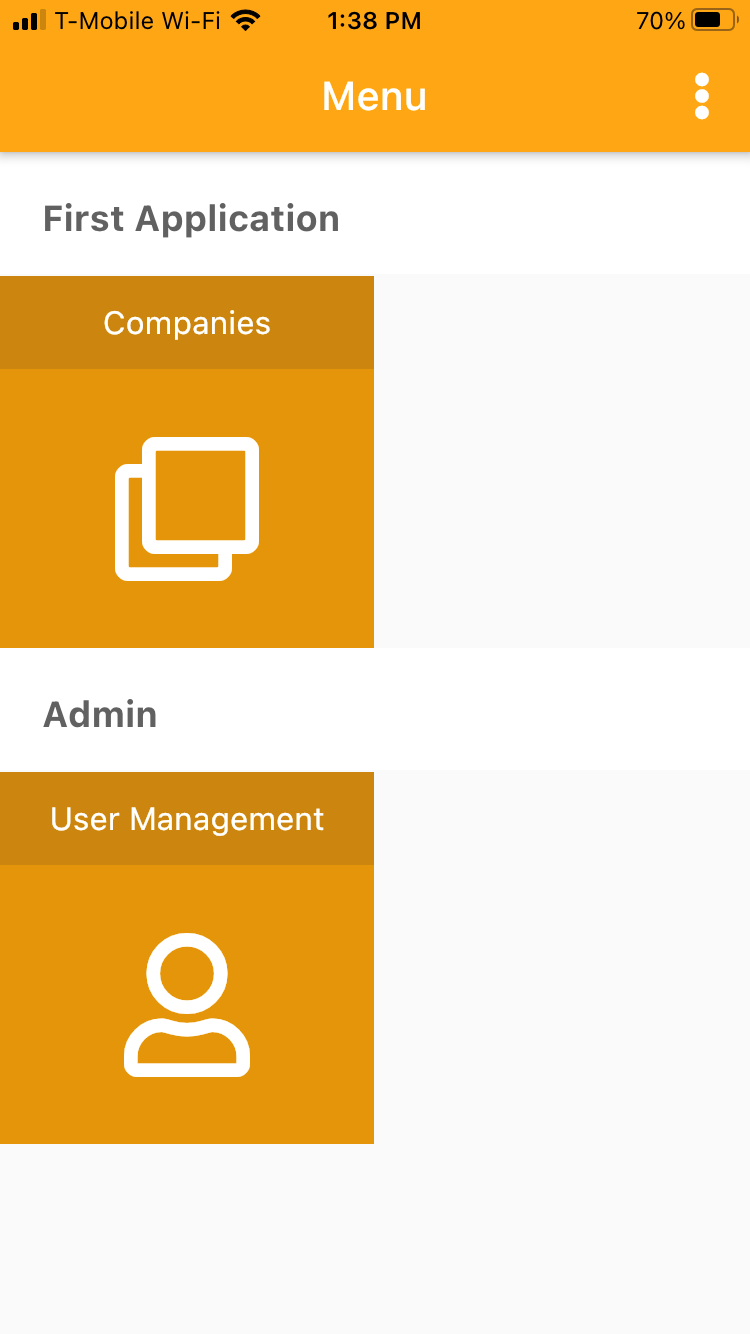
And open the “Companies” screen.
Learning VisionX - Next Steps
To get to know VisionX better you have the following options:
- Watch our explainer videos - Explainer videos
- Do our step by step tutorials - Tutorials
- Read the full documentation - Full documentation
- Visit our documentation page - Documentation page
- We are happy to help you with the first steps - Book a demo session