Trace: • Debug with Eclipse
Table of Contents
Version: 1.0 / 2023-04-11
Introduction
This document describes debugging an application with Eclipse. It's required to own at least an Enterprise license of VisionX and Eclipse already installed on your system.
Attach Source for libraries
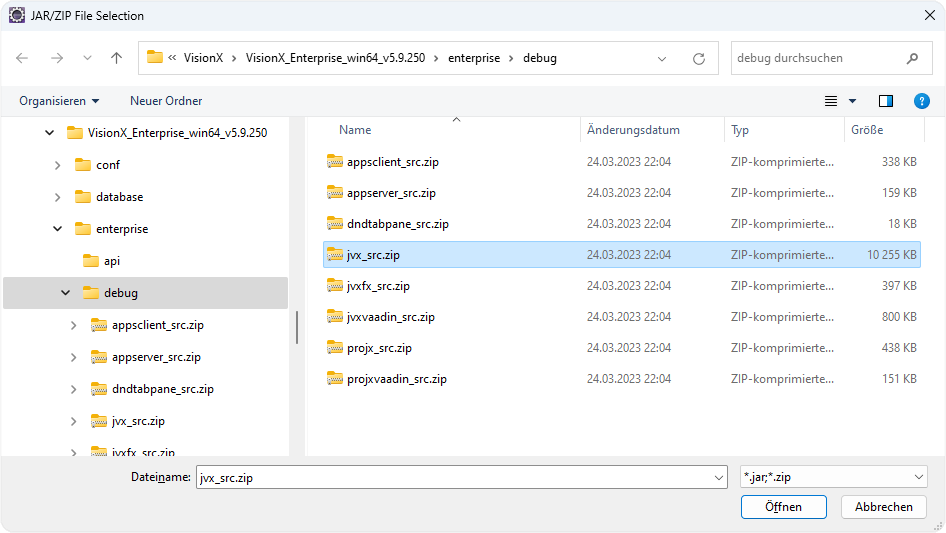
To be able to debug used application libraries, it's required to attach the source code of libaries. The source files are located in folder <VisionX>/enterprise/debug.
You have 2 options for attaching source to libraries. The first one is used, if the “Class File Viewer” shows “Source not found”, and the second option will attach the source files proactive in project properties.
Source not found
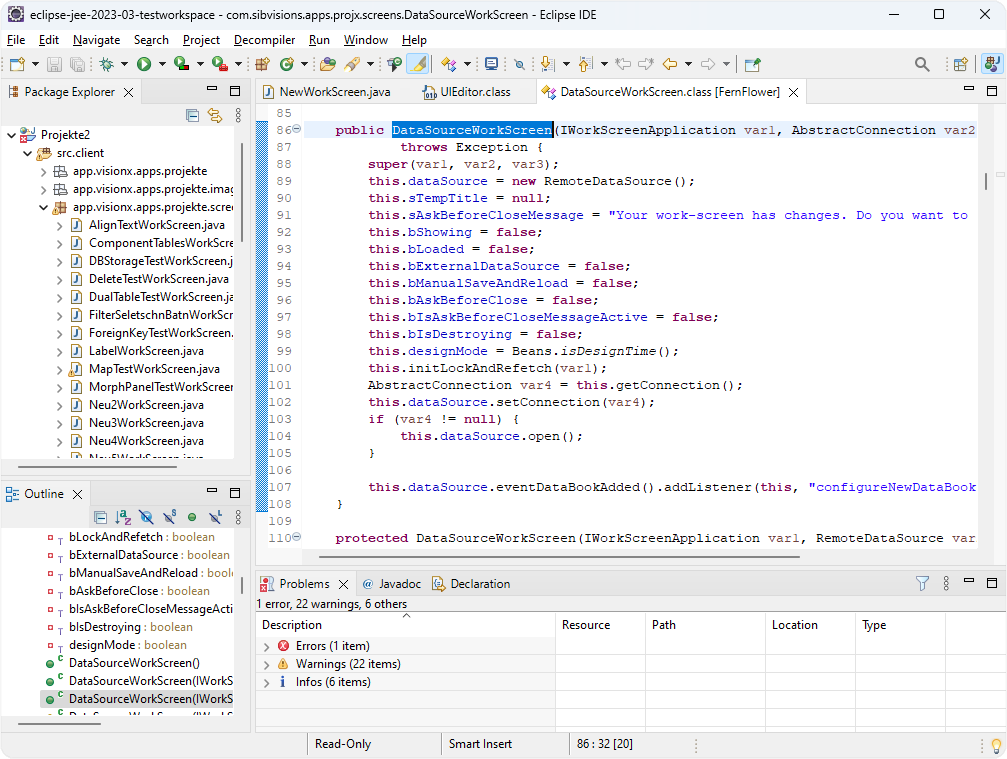
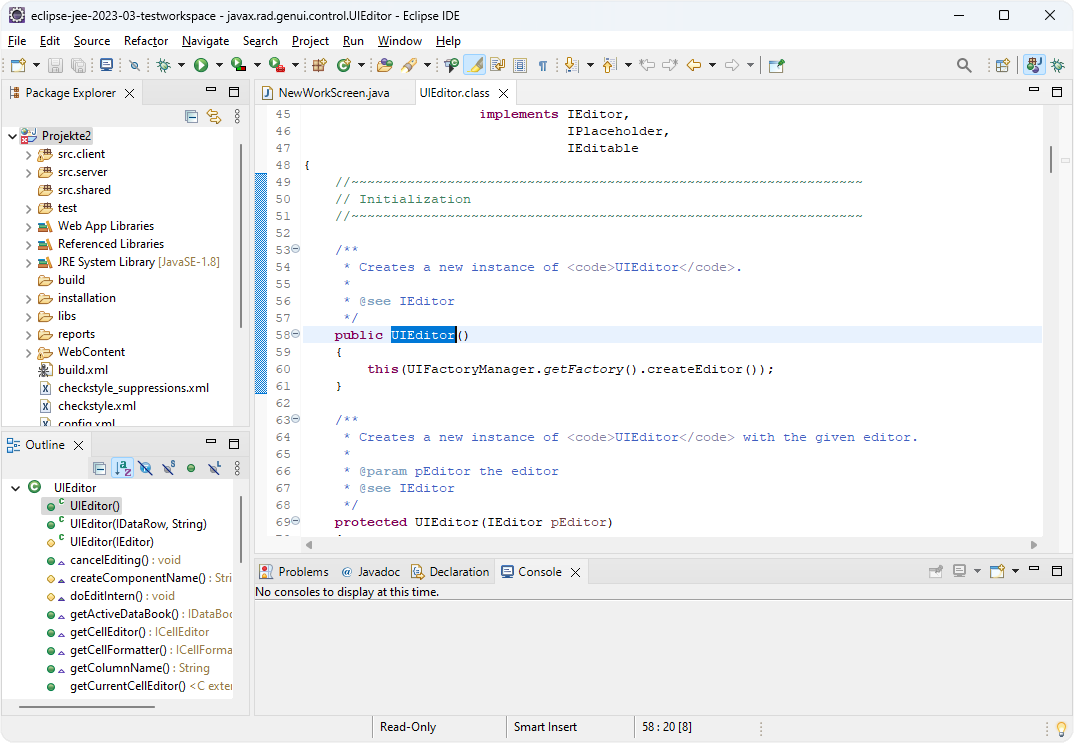
Click on class or method while pressing <CTRL> key.
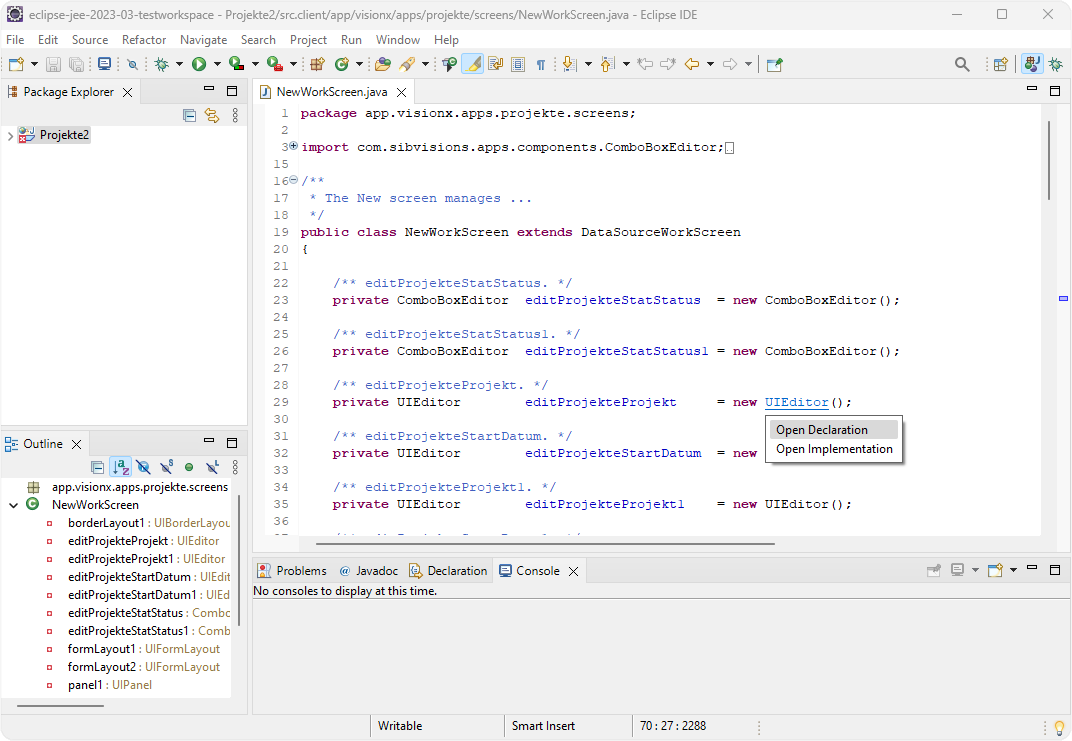
The Class file viewer will be shown for the desired class with the information, that the Source was not found. Press the “Attach Source…” button.
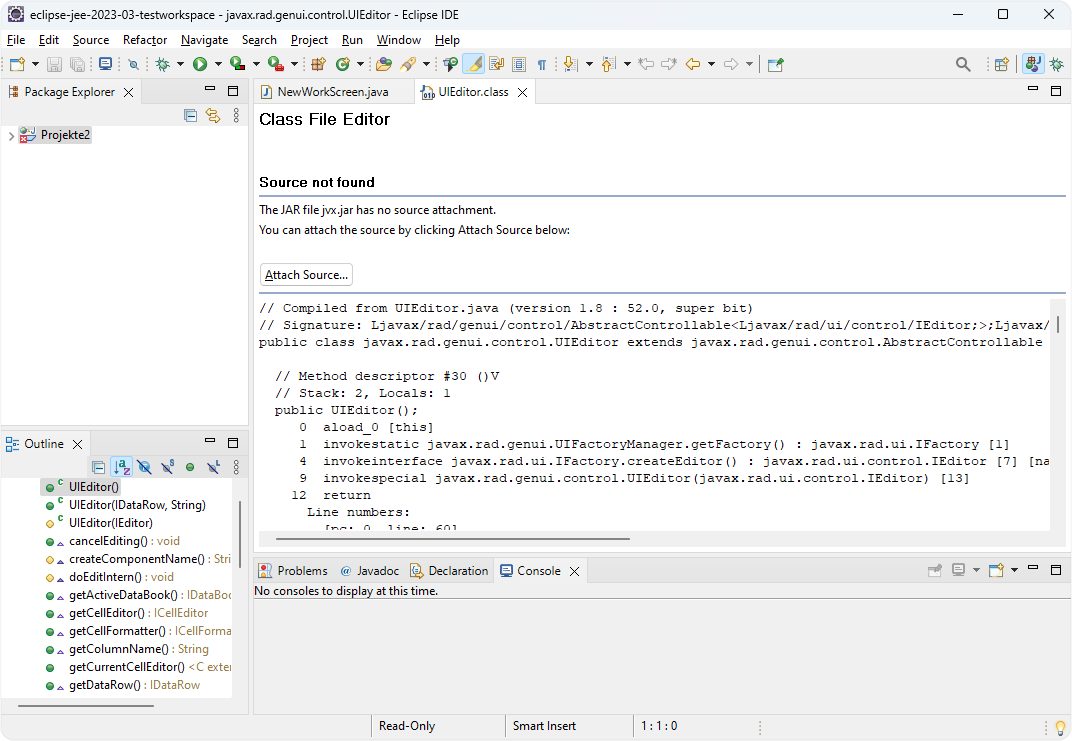
The Source Attachment Configuration Dialog is opened, and shows the library, for which the source file has to be attached (in this case jvx.jar).
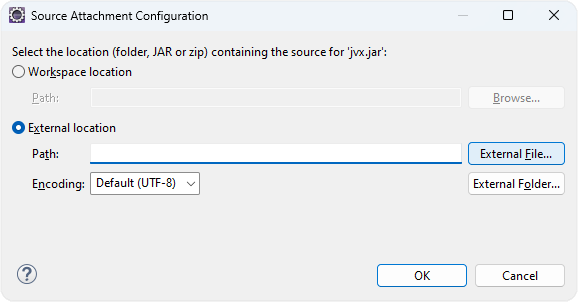
Press “External File…” button, and choose the corresponding source file, in folder <VisionX>/enterprise/debug (eg. for jvx.jar the file jvx_src.zip is needed).
After attaching the file, the source is shown in Class file viewer.
Project properties
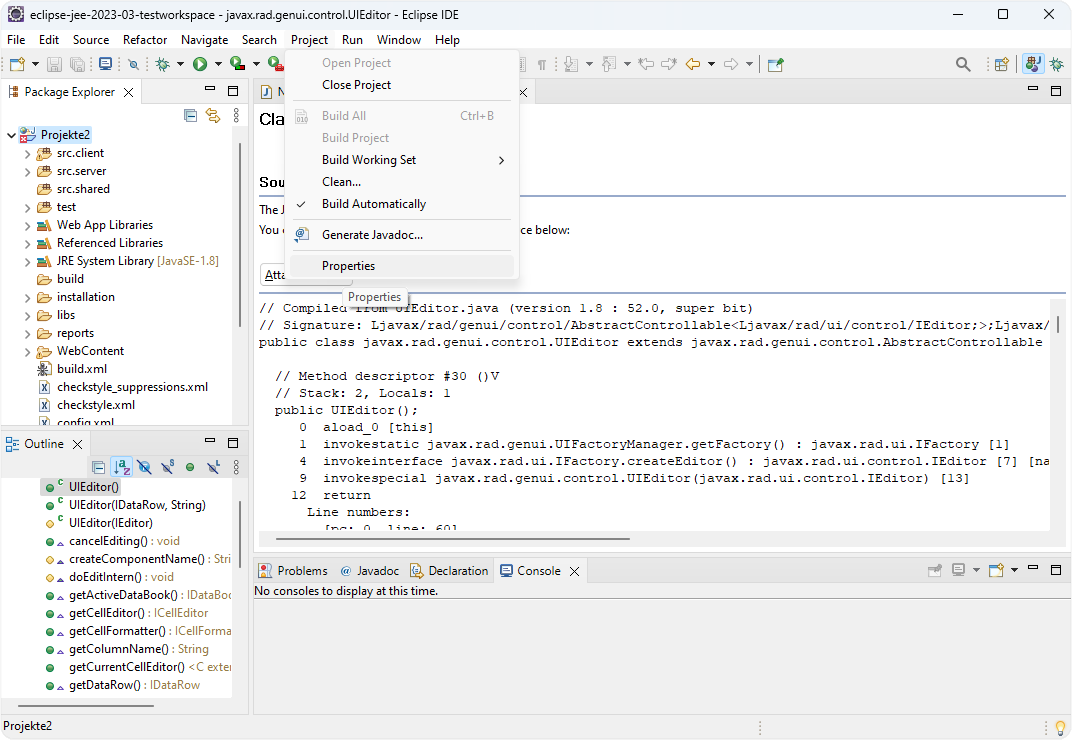
Open the project properties.
Select “Java Build Path” in left navigation tree, and select the “Libraries” tab.
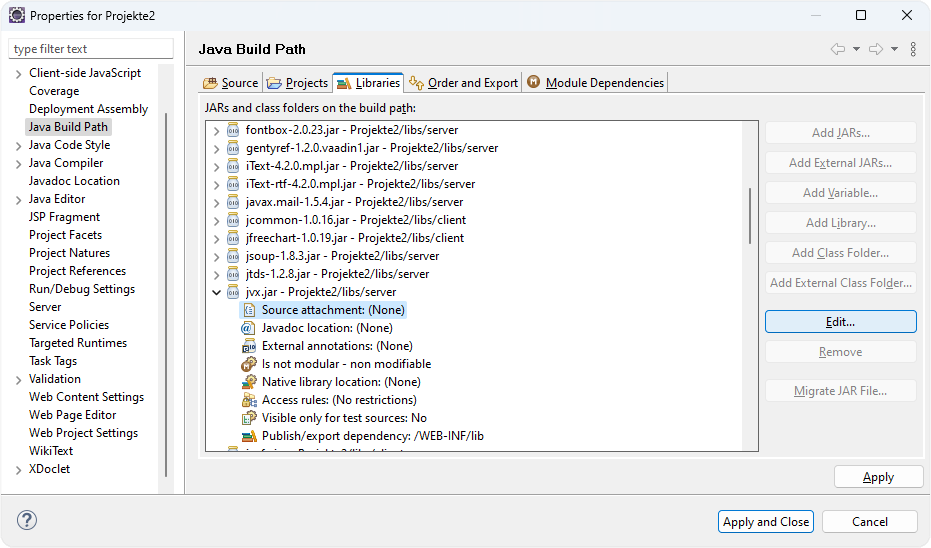
Open the node of the desired library and select “Source attachment: (None)”. Then press on “Edit” button on right side, and the Source Attachment Configuration Dialog will be opened like in Method 1, and shows the library, for which the source file has to be attached (in this case jvx.jar). Press “External File…” button, and choose the corresponding source file, in folder <VisionX>/enterprise/debug (eg. for jvx.jar the file jvx_src.zip is needed).
Install and configure Decompiler
For all libraries where no source is attached, the decompiled source should be shown, to be able to debug also those classes.
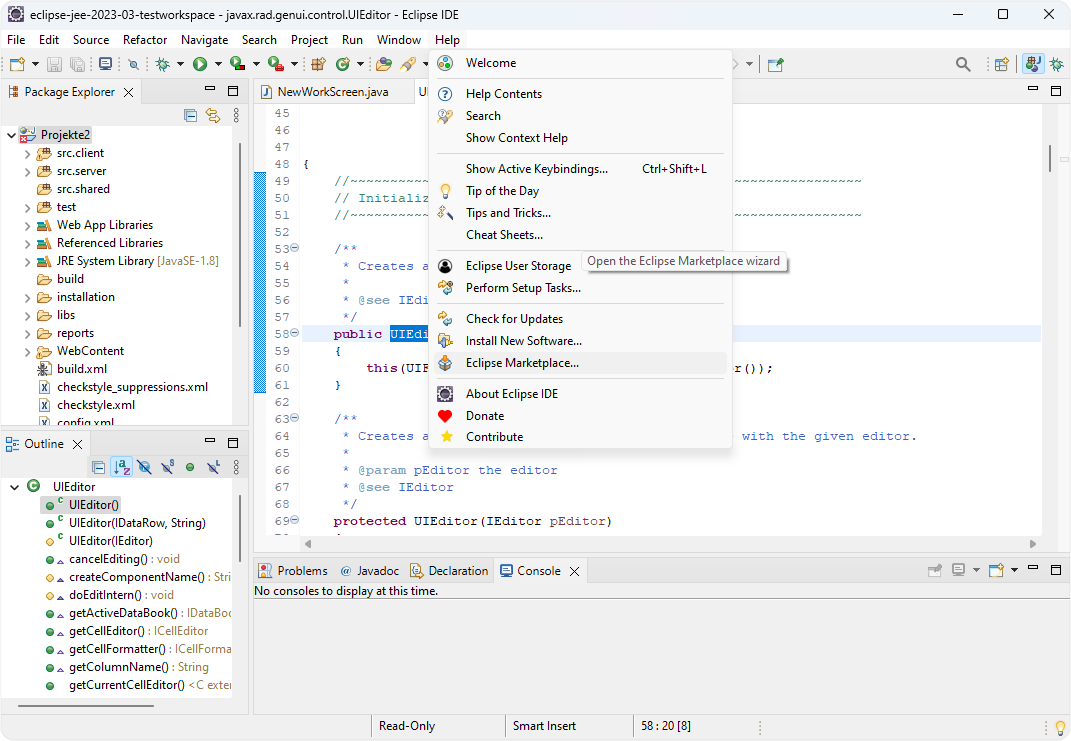
Open “Eclipse Marketplace” under “Help” menu.
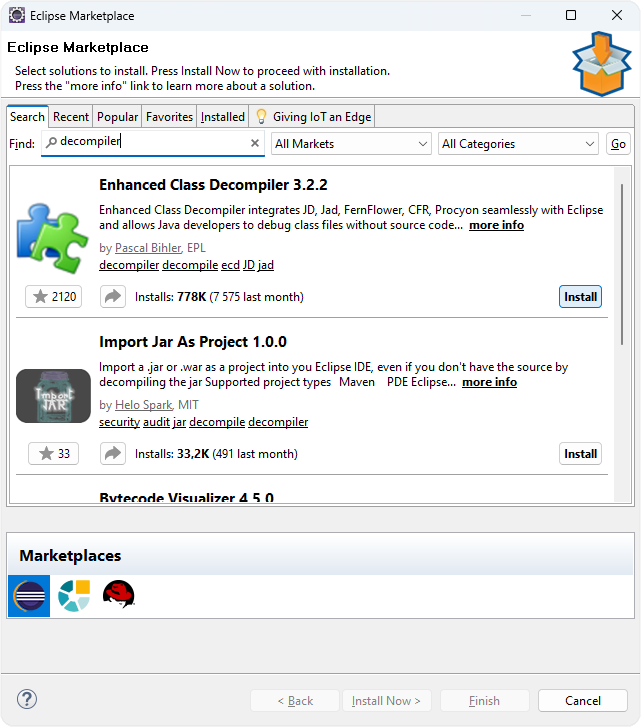
Search for decompiler, and press on “Install” button of Enhanced Class Decompiler <Version>.
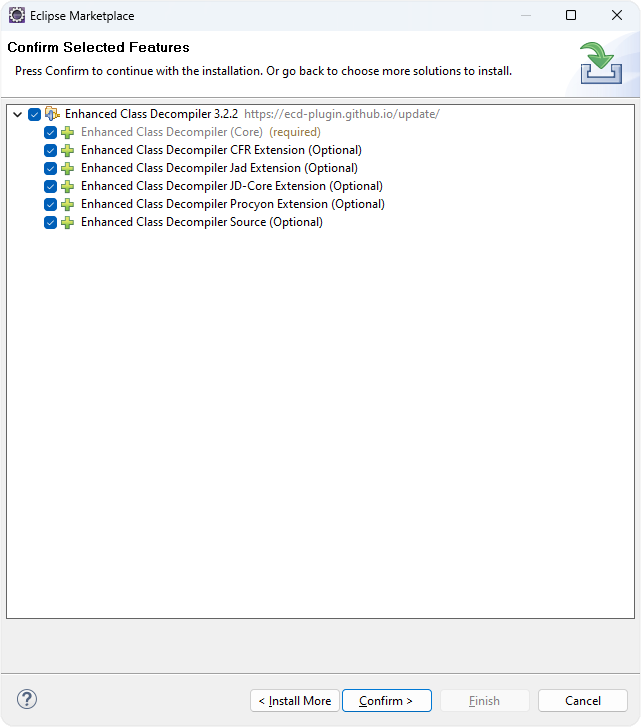
Confirm all Packages and trust the certificate.
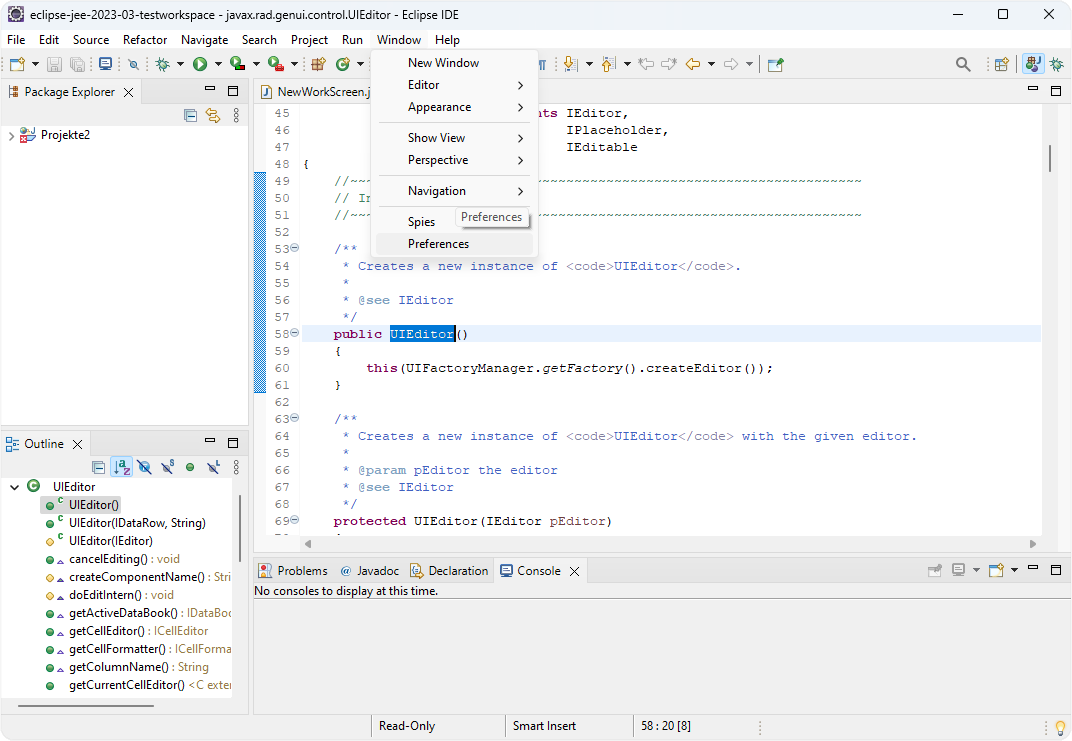
After restart of Eclipse, the correct view has to be configured. Therefore open “Preferences” under “Window” menu.
In the Preferences select the node “General” - “Editors” - “File Associations” in the navigation tree on left side.
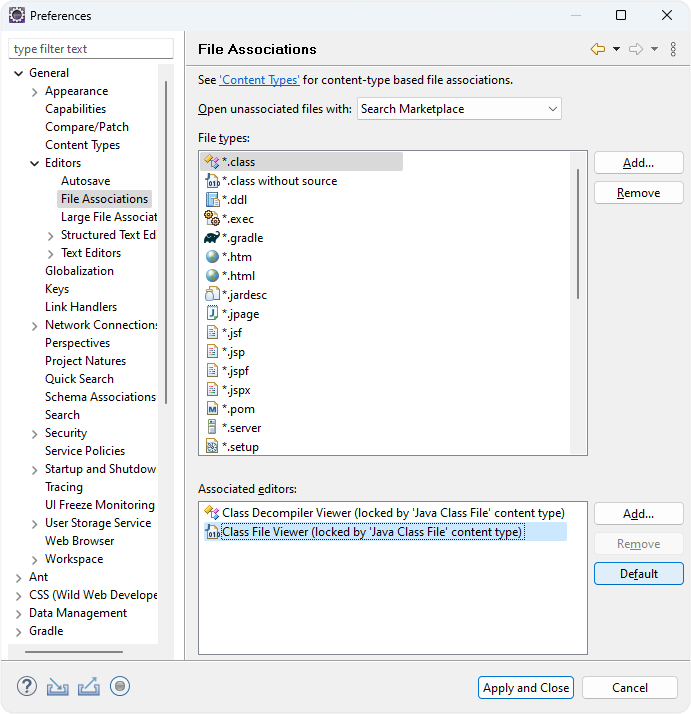
Select the File Type “*.class”, and the Associated editor “Class File Viewer (locked by 'Java Class File' content type)” and press the “Default” button.
Then select File Type “*.class without source”.
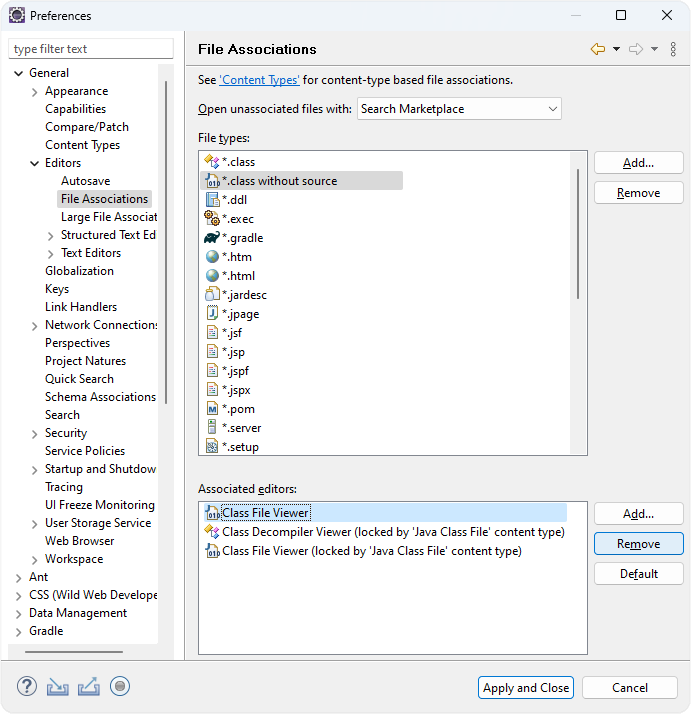
Select the “Class File Viewer” that is not locked, and press “Remove”.
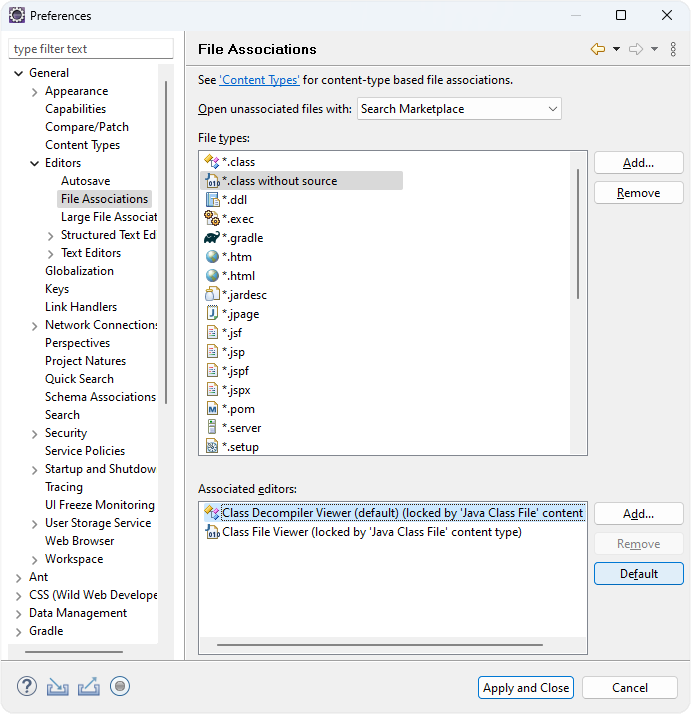
Then select the “Class Decompiler Viewer (locked by 'Java Class File' content type)” and press the “Default” button, if it is not marked as (default).
After pressing “Apply and Close” the decompiled source will be shown, if no source is attached to the library.