Trace:
This is an old revision of the document!
Version: 5.0 / 2019-07-01
Introduction
This tutorial will now walk you through the process of creating your first application with VisionX. If you not have done so by now, please start VisionX.
Creating a New Application
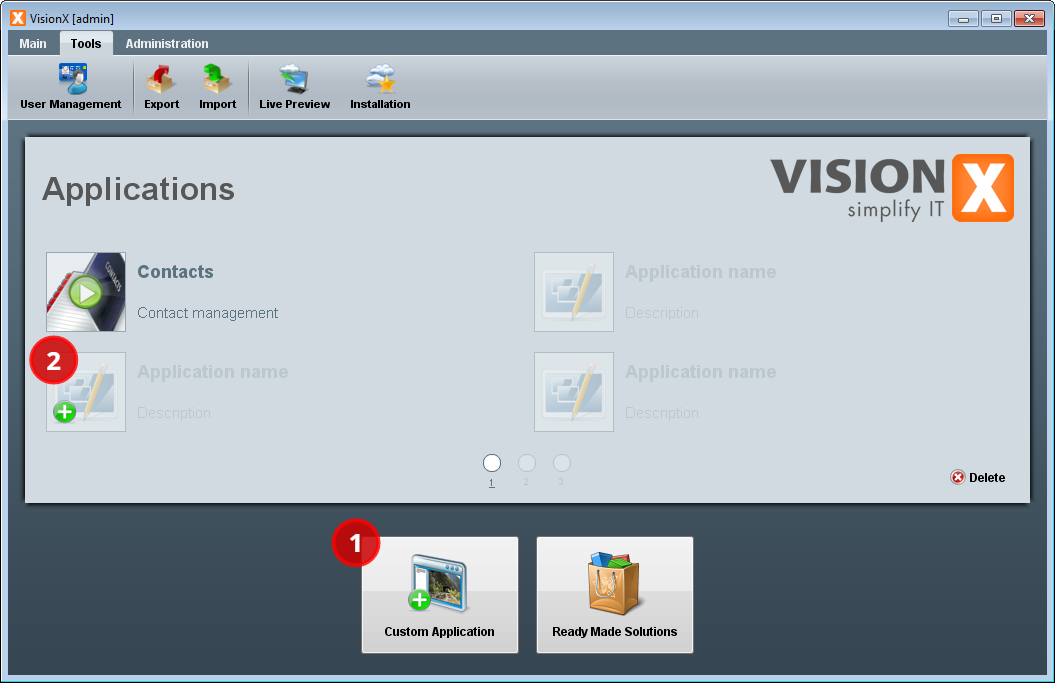
A new application can be created by clicking the “Custom Application” button (1) in the VisionX main view or by clicking the “Add” button (2).
The New Application Wizard will open and lead you through the necessary steps of creating an application from scratch. In this case we will name the application “First Application”.
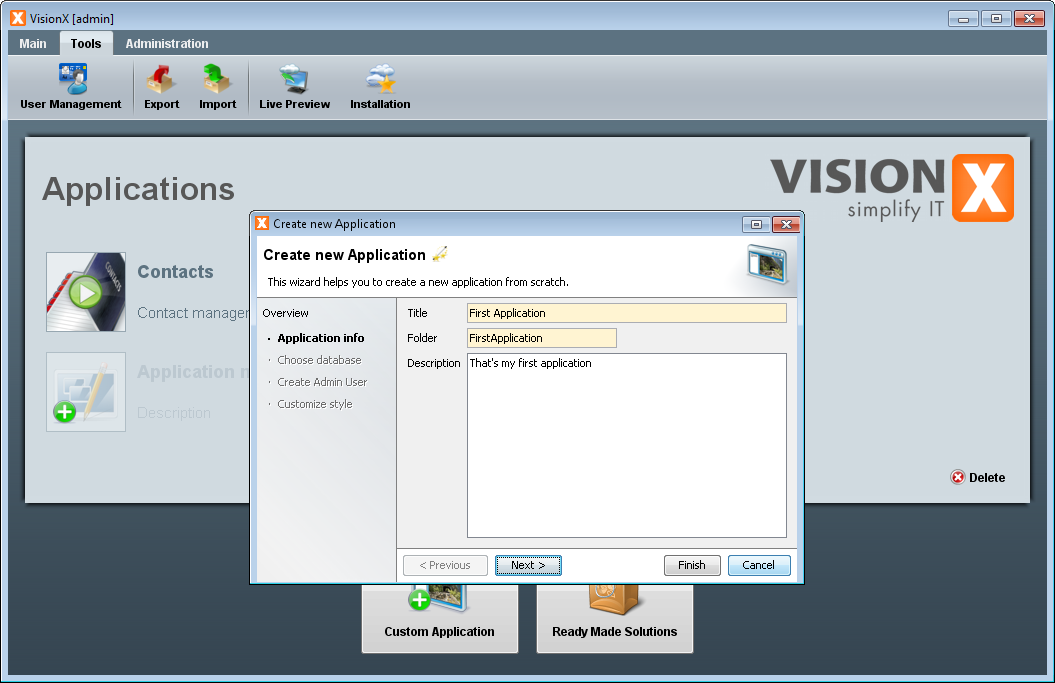
We will skip the remaining steps in the wizard by clicking the “Finish” button because we do not need them right now. For this first application, we will not change any of the other default values.
Creating a New Workscreen
VisionX will now drop us into our new application. Because there are currently no workscreens in this application, VisionX automatically opens the Next Steps Wizard which allows us to directly create a new workscreen.
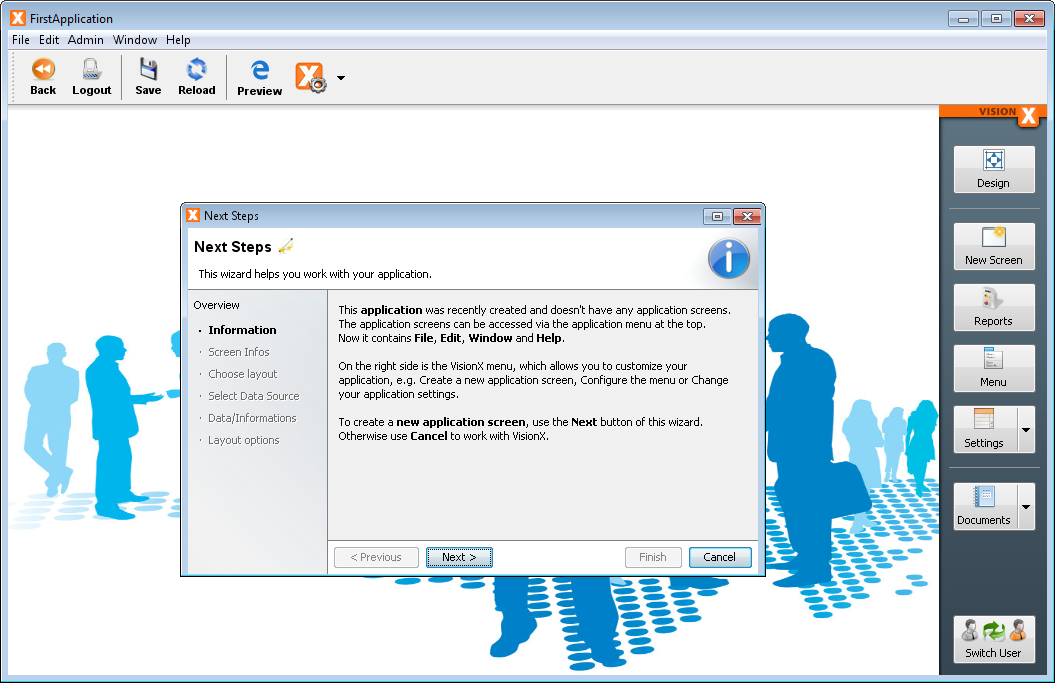
We will follow this wizard now to create a new workscreen which allows us to create, change, and delete contact information of companies. This wizard does not only create the workscreen, but also the data model in the database required for it. Click “Next” in the Next Steps Wizard to go to the step for creating a new workscreen. When prompted for the name of the new workscreen, name it “Companies”.
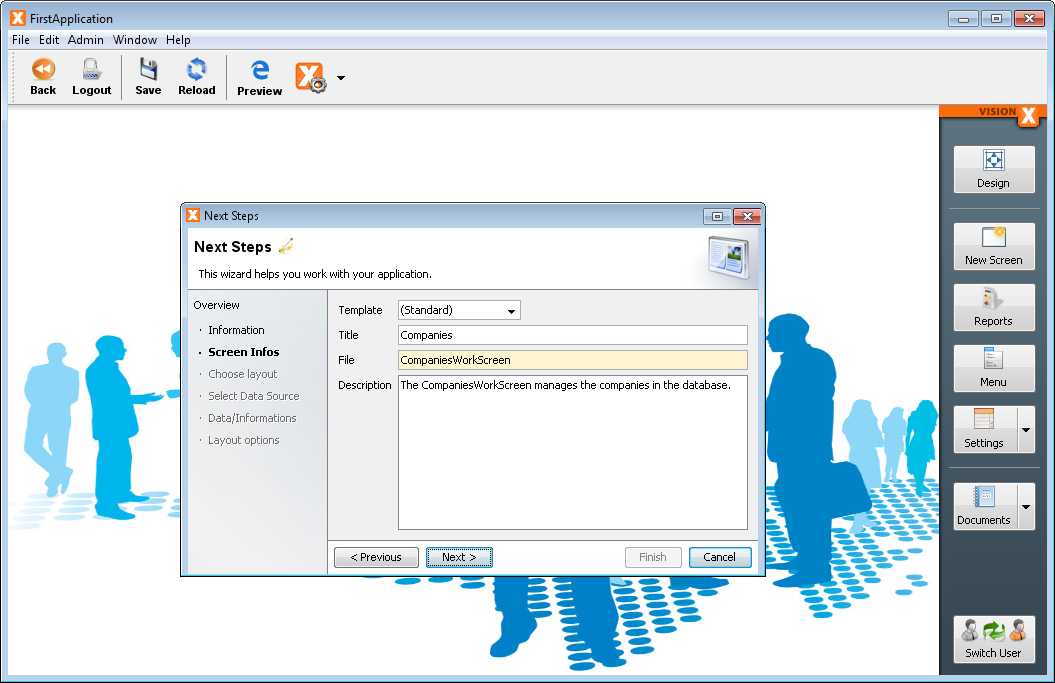
You can skip over the next few steps by clicking “Next” and not changing the defaults until you arrive the step for creating the model of the new workscreen.
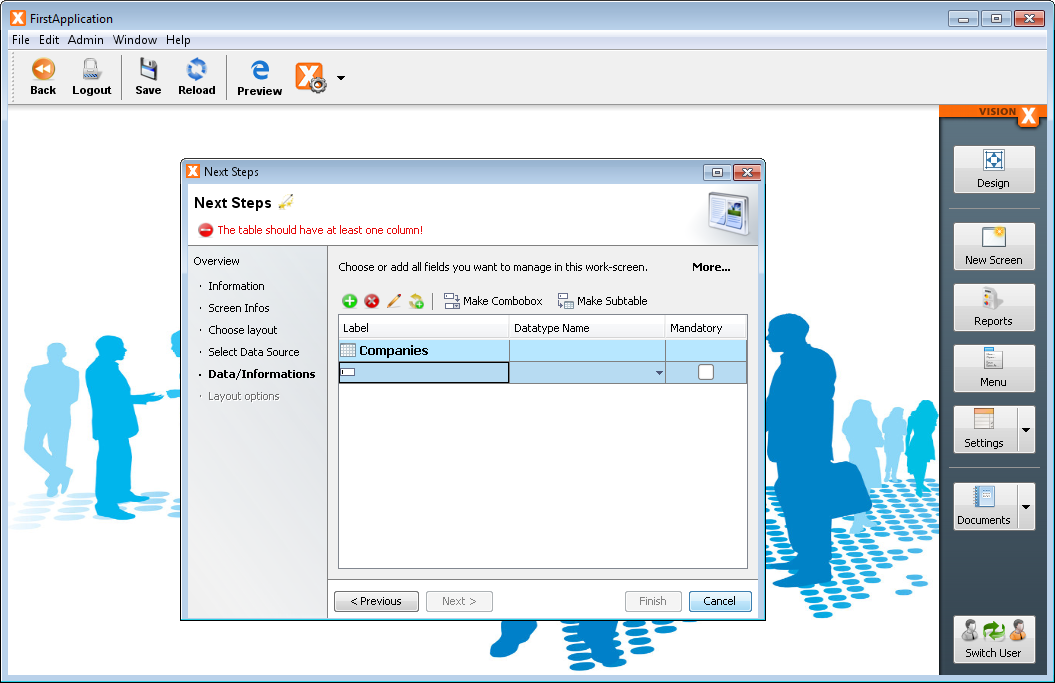
As we can see, there are currently no columns in the data model. We will add several to be able to store further information about the companies. The data type will be chosen automatically based on the name of the column.
- Name
- Email
- Phone
- Website
- Contact - Name
- Contact - Phone
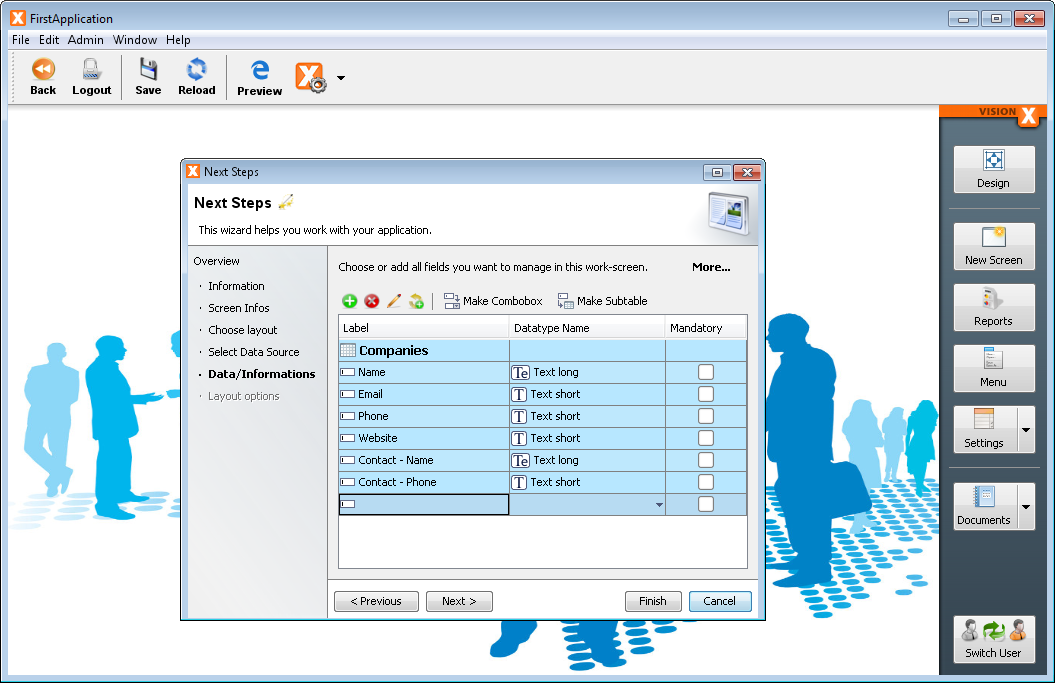
With these columns added, we will also take the opportunity and mark multiple columns as “Mandatory”. Mandatory columns must be filled out when a new record is created.
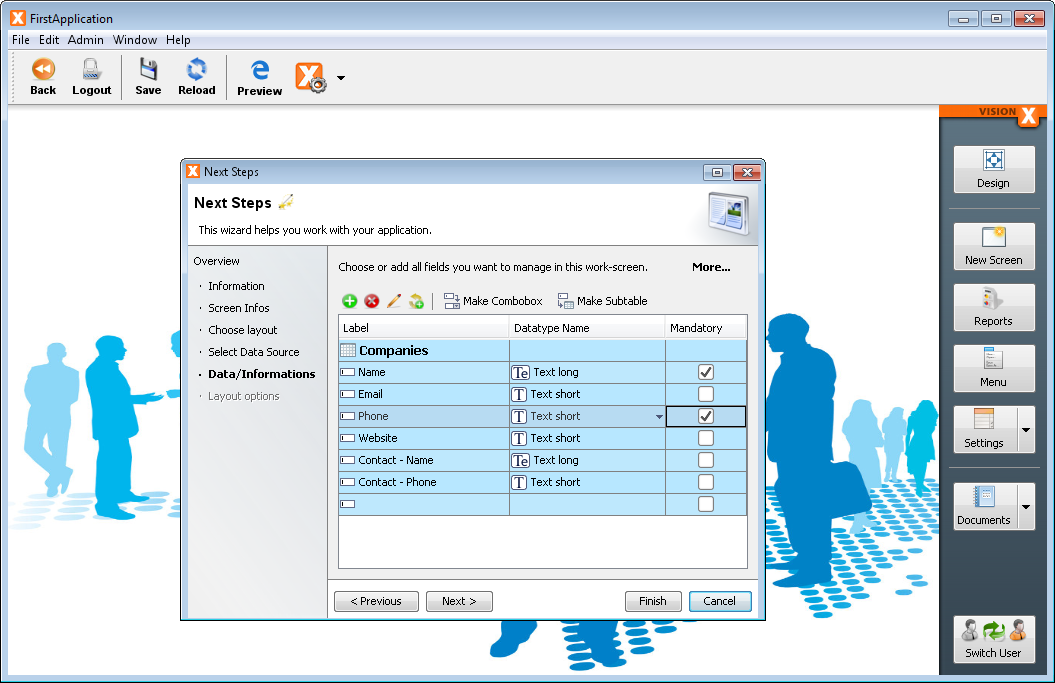
We can skip over the remaining steps and click “Finish” to create the workscreen and its model at the same time.
Editing the Workscreen
VisionX will now switch to the design mode with our new workscreen open.
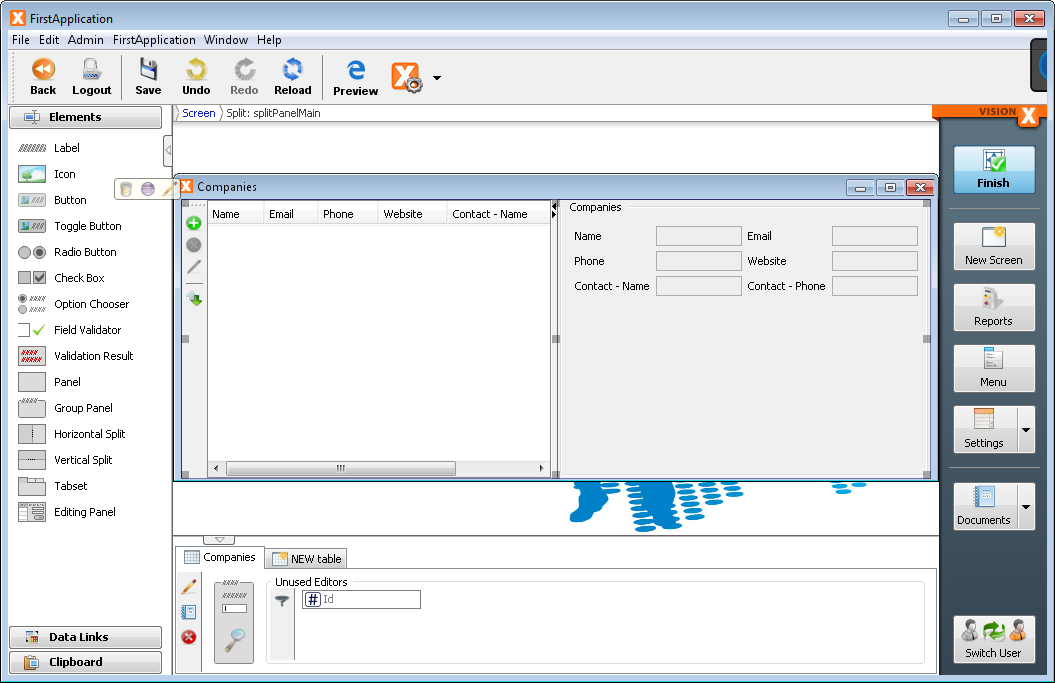
In this mode we can change the screen interactively. We can drag components, add new ones, or edit the model. The design mode can be toggled any time by pressing the “Design” button in the upper right corner.
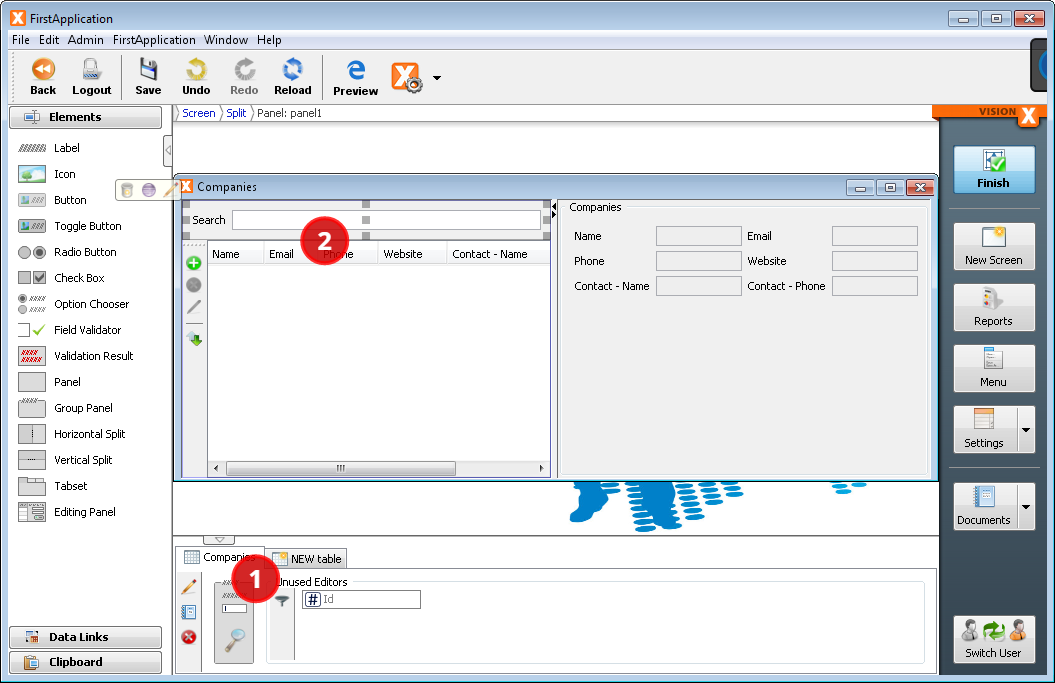
We will now edit the screen and add a generic search field to it. In order to do this, drag the search field (1) from the model pane into the screen to the top edge of the table (2).
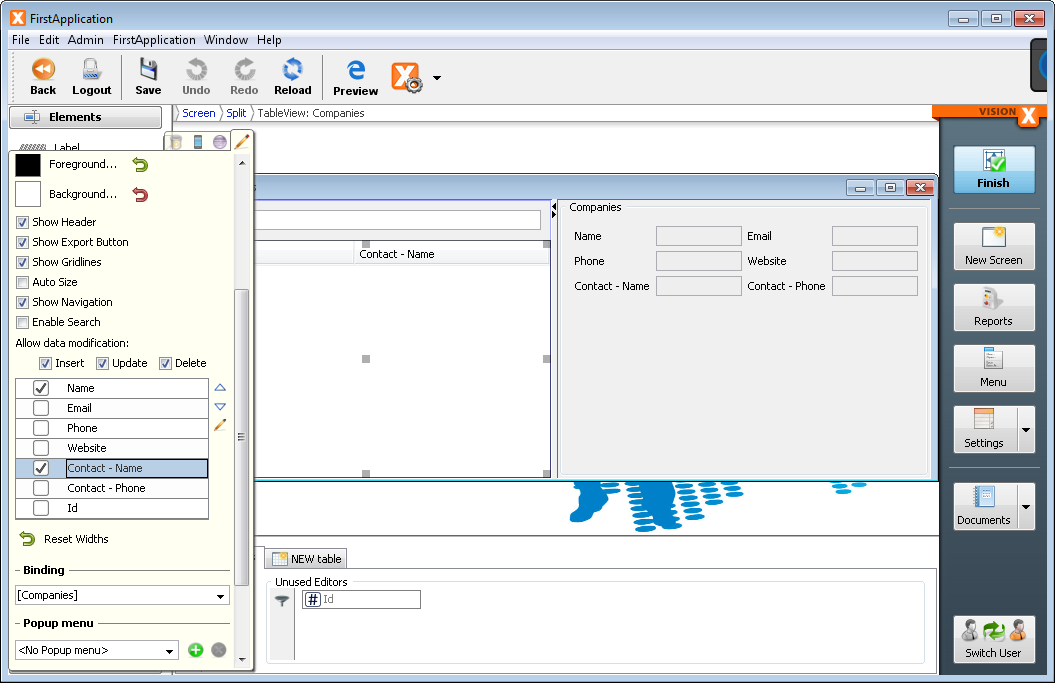
Additionally, we do not need all columns in the table view. Open the customizer with a right click on the table and uncheck the columns that are not needed.
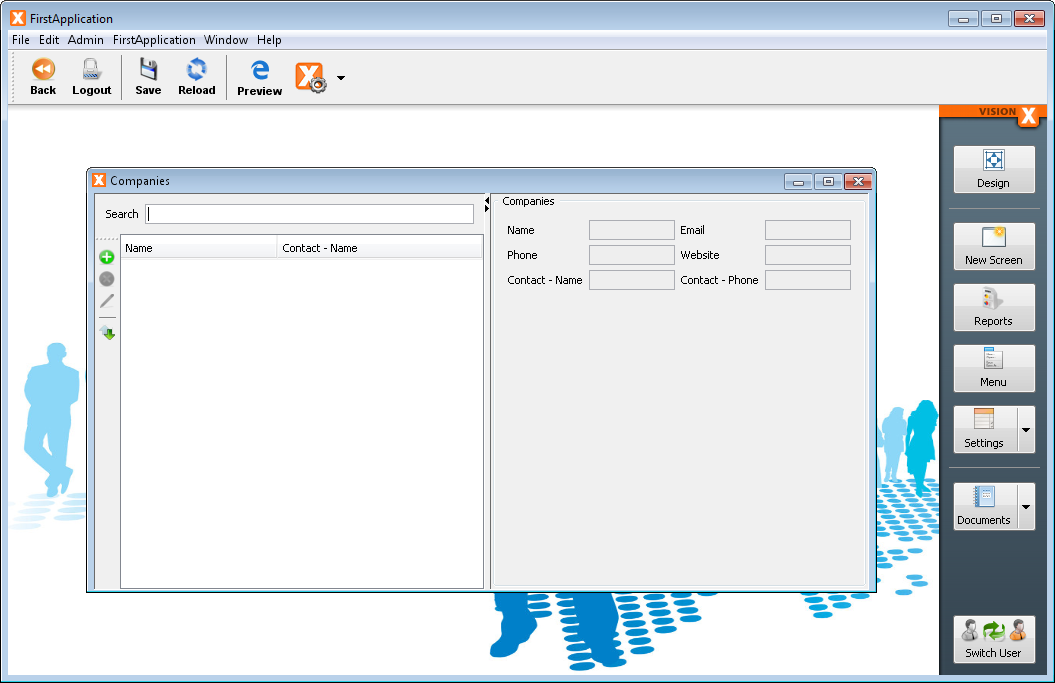
Now that we have the screen ready, we can switch to Runtime Mode by pressing the “Finish” button in the top right corner.
Adding Data
In runtime mode we see the screen in all its glory.
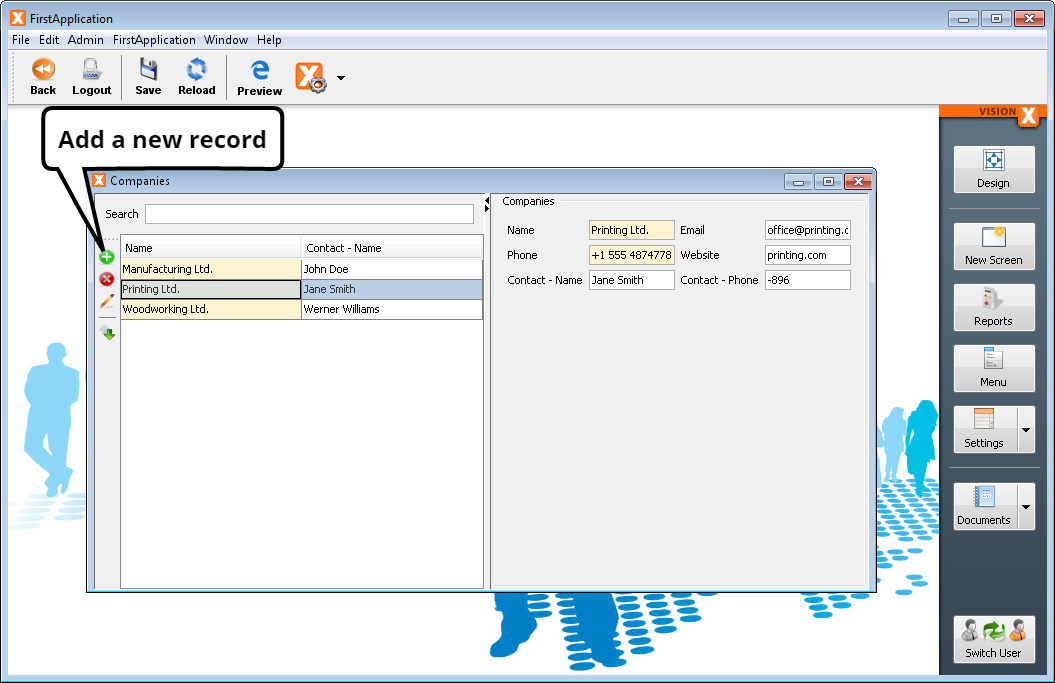
We can now start adding data to the database. Pressing the “Add” button of the table will give us a new record which we can enter data into.
Taking a Test Drive
Our new application is now ready to be taken on a test drive. You can start the live web preview by clicking the “Preview” button in the toolbar.
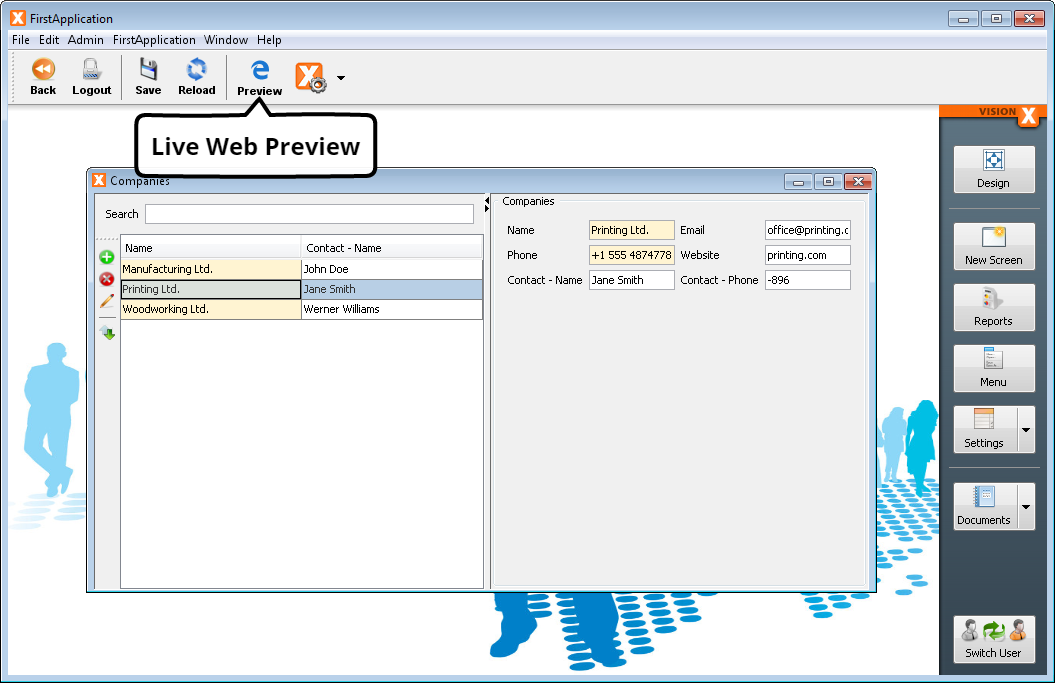
Your default browser will be opened with the live web preview of your application. You can log into it by using the default credentials: “admin” as username and “admin” as password.
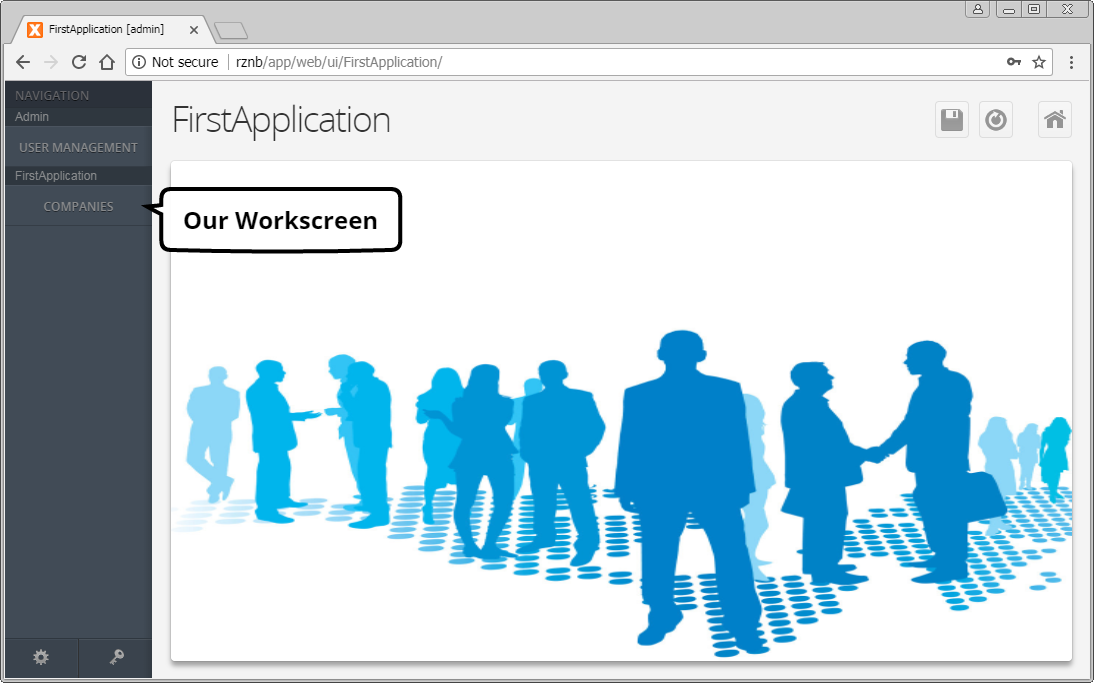
Now open the workscreen we've created from the left hand panel.
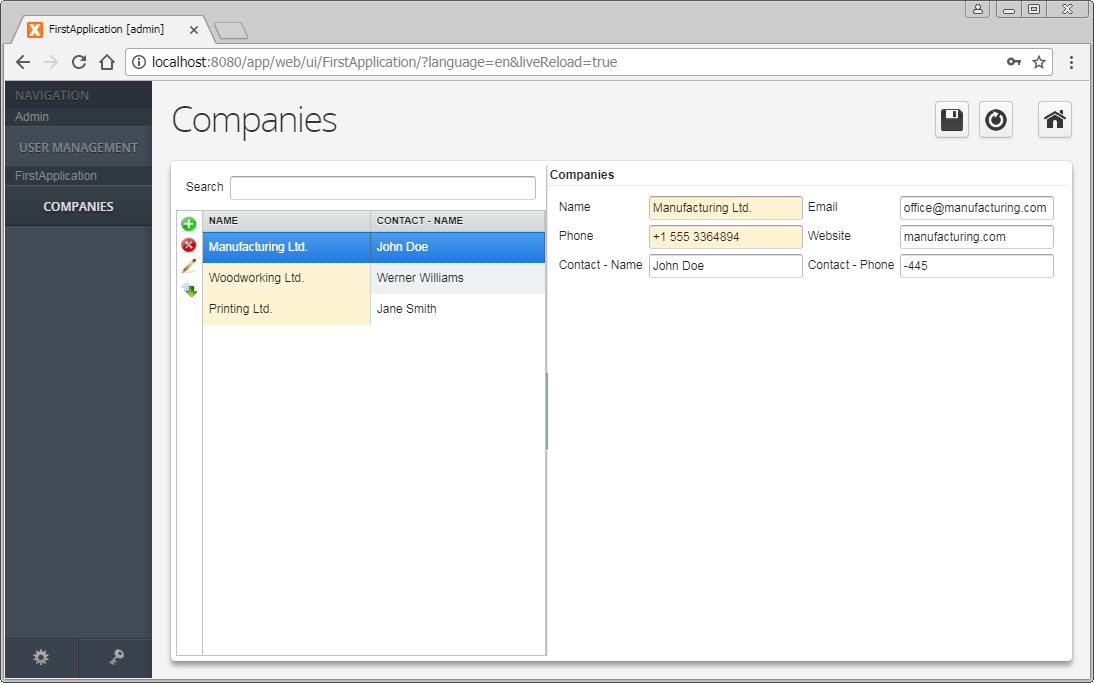
And we've built a complete application in mere minutes with VisionX!

